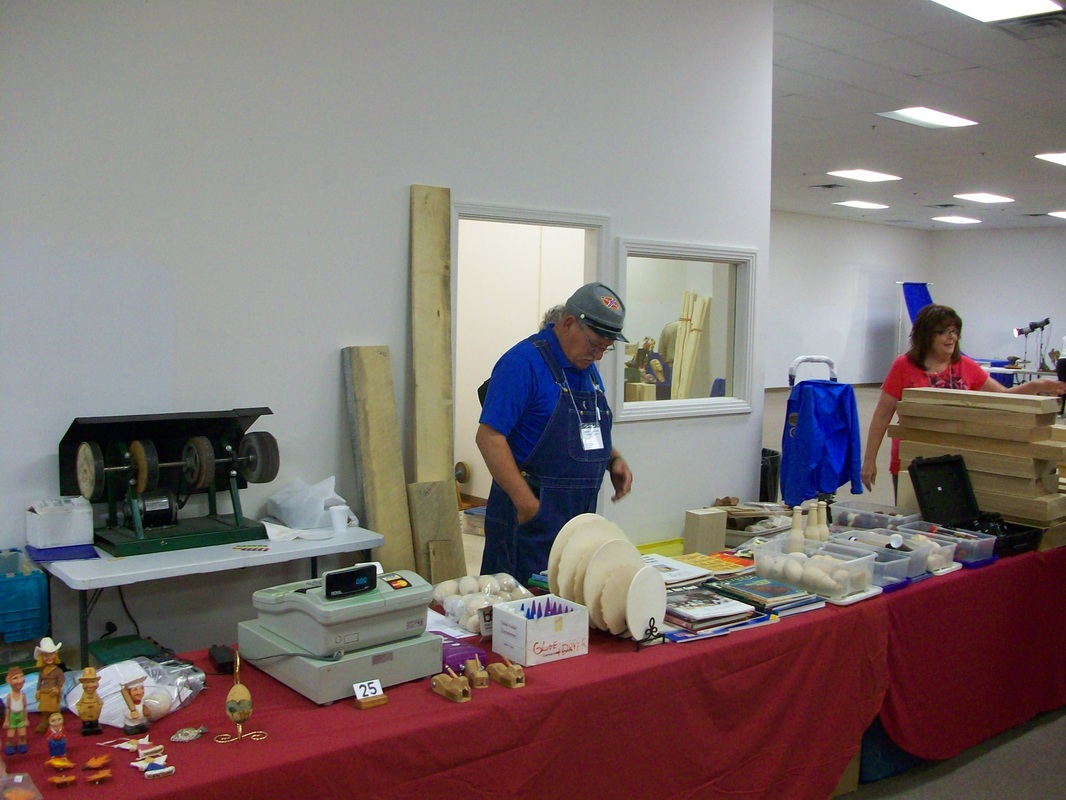
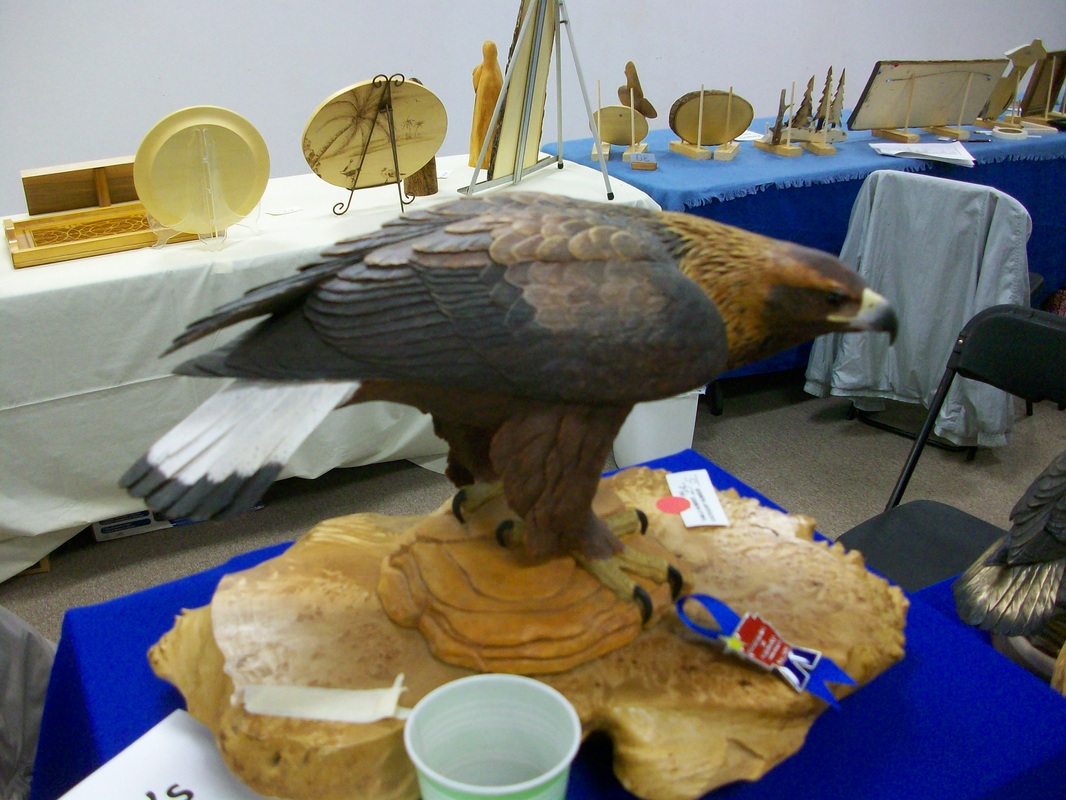
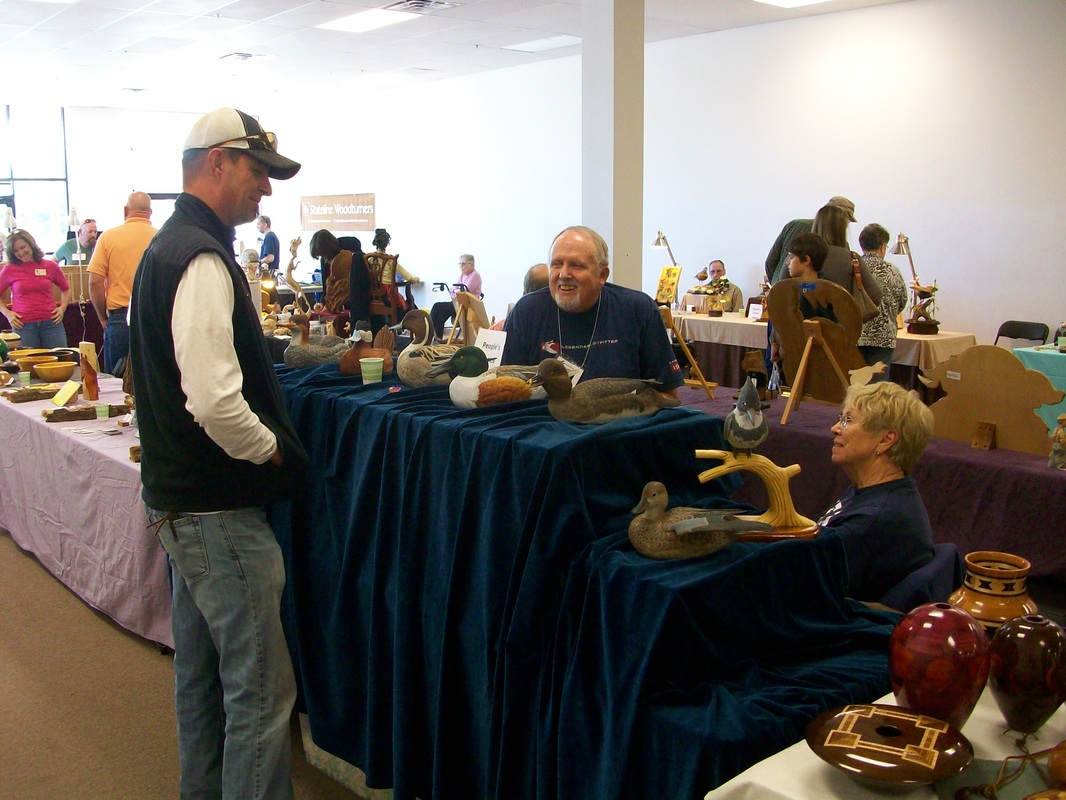
Last weekend we celebrated another great annual show. 35th one with some great carvings. I have posted a few pictures here for you to critique. Gerald put together a stellar show and 2 day carving class. I am sure there will be more to come. This year's show was held in a vacant store in the Frisco Mall Shopping Center, Rogers on Walnut St.
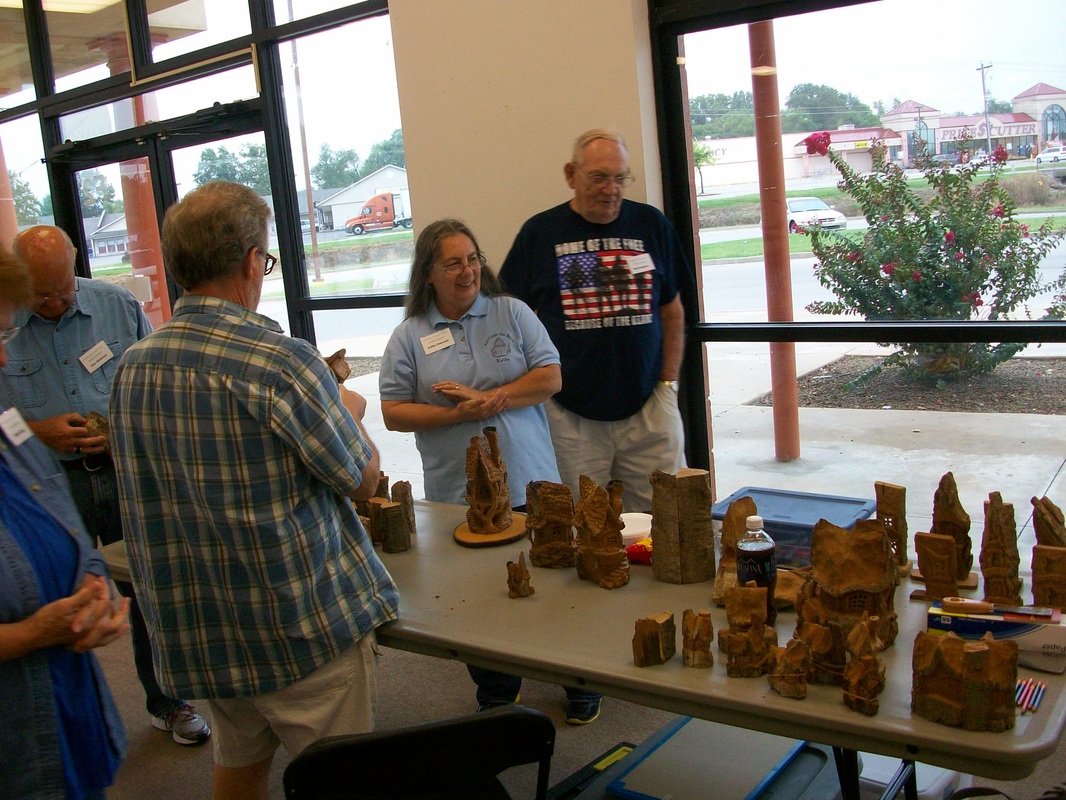
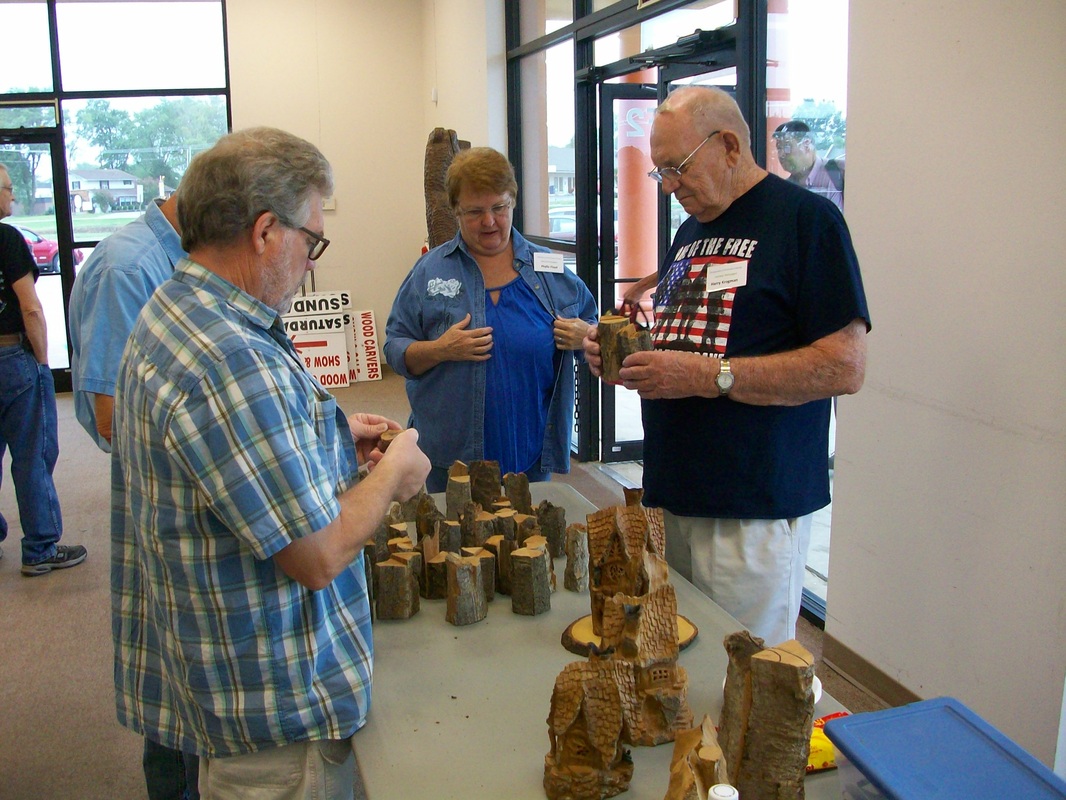
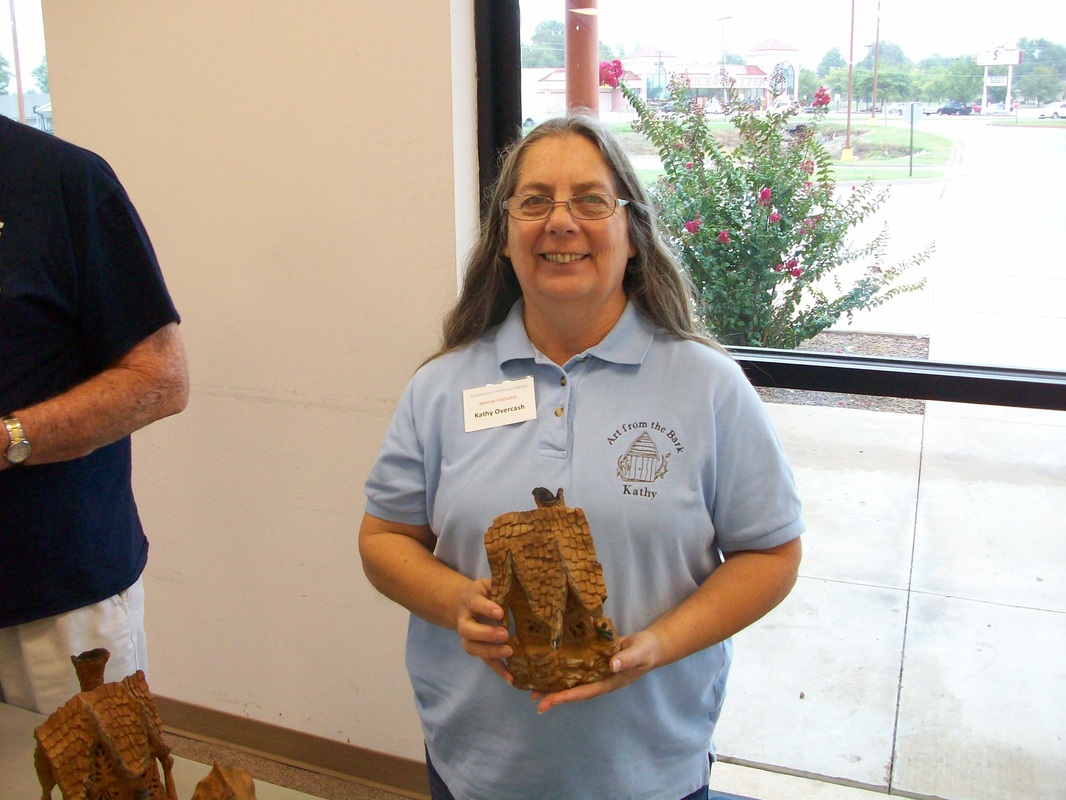
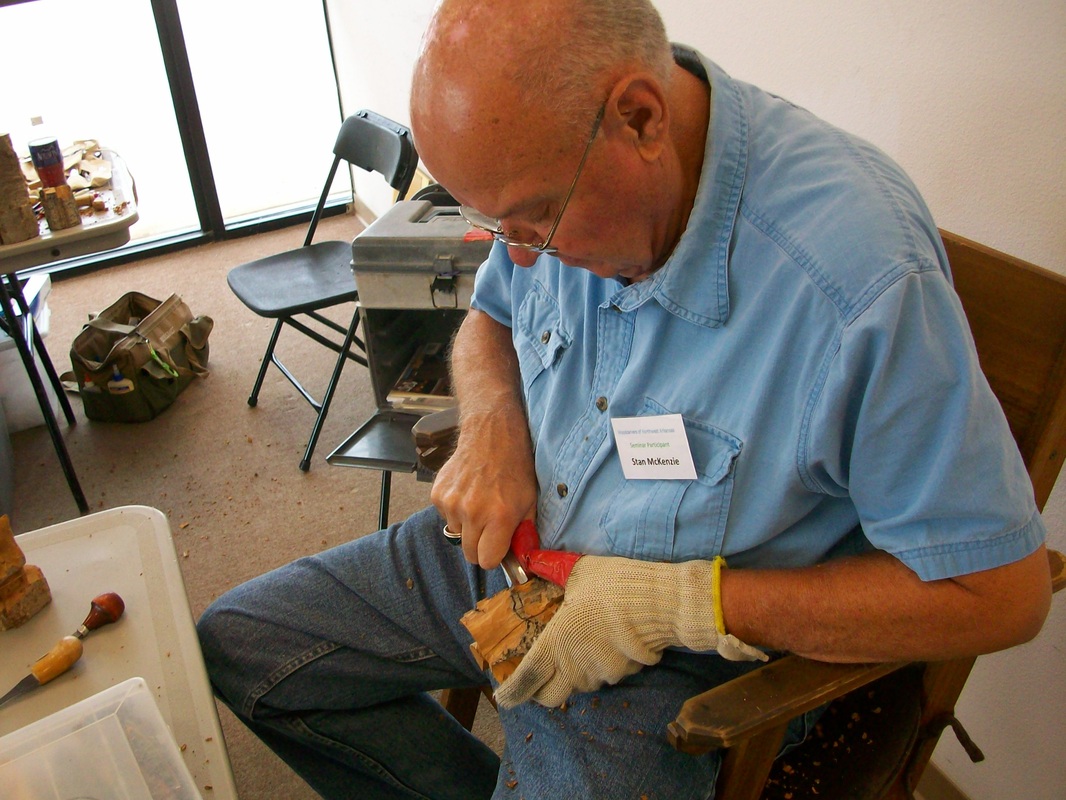
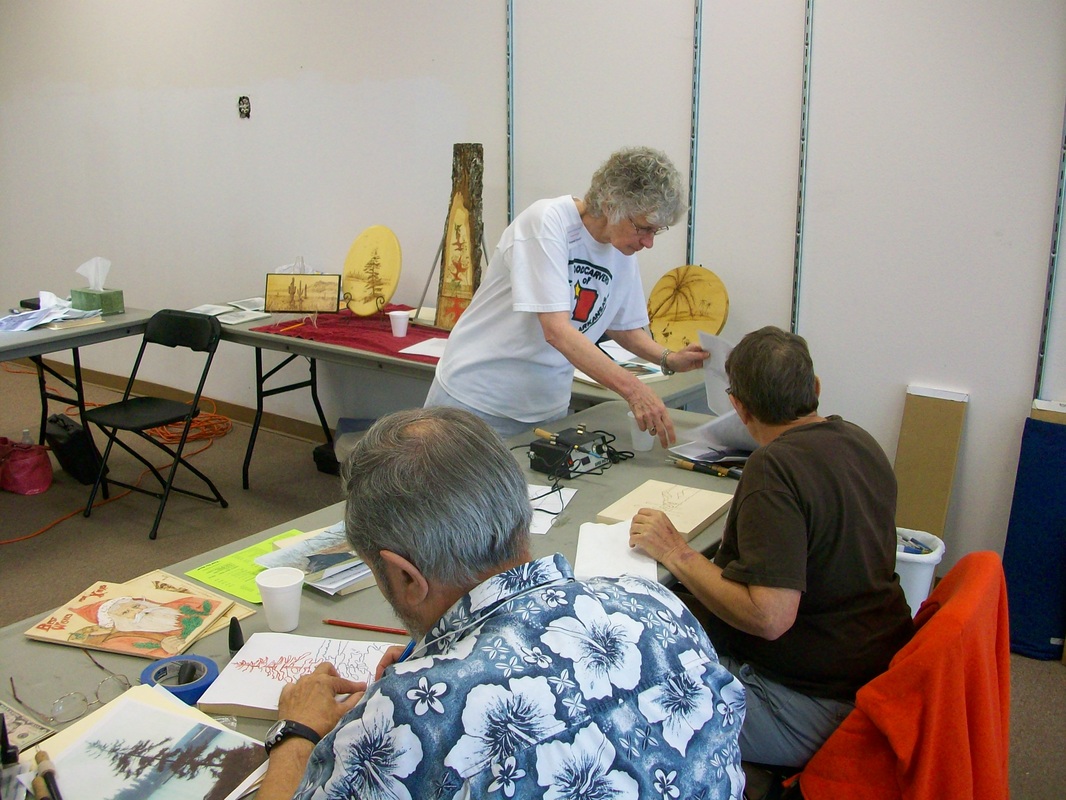
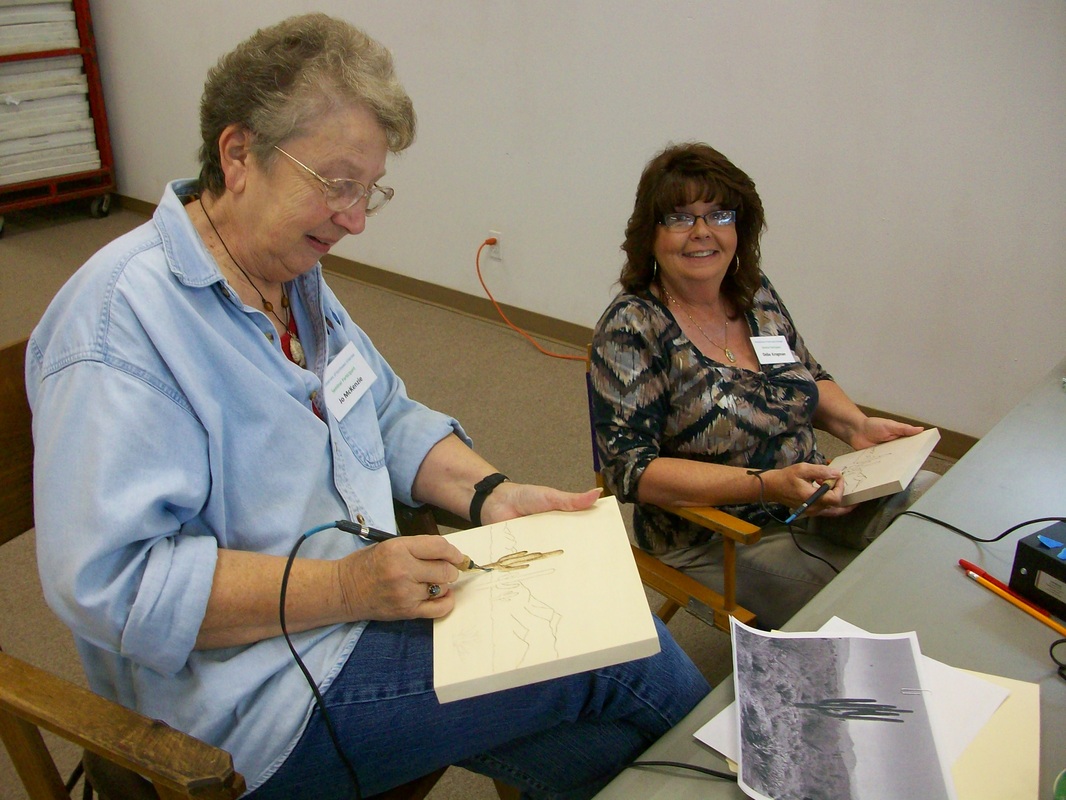
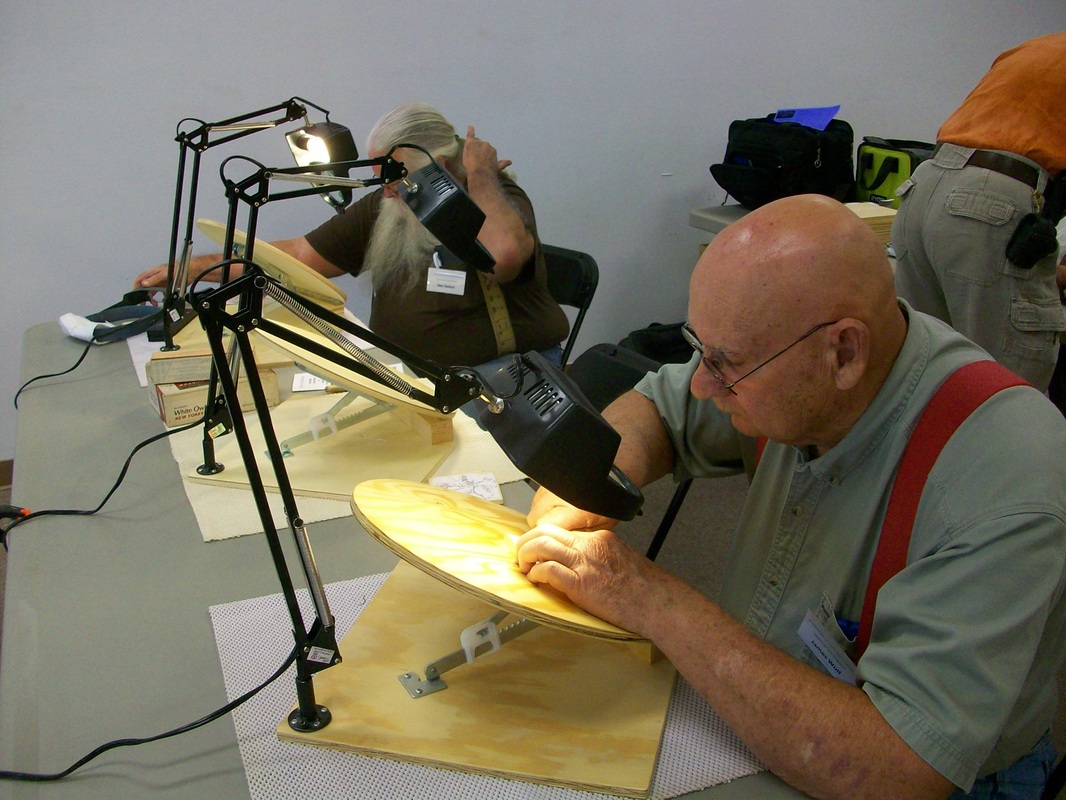
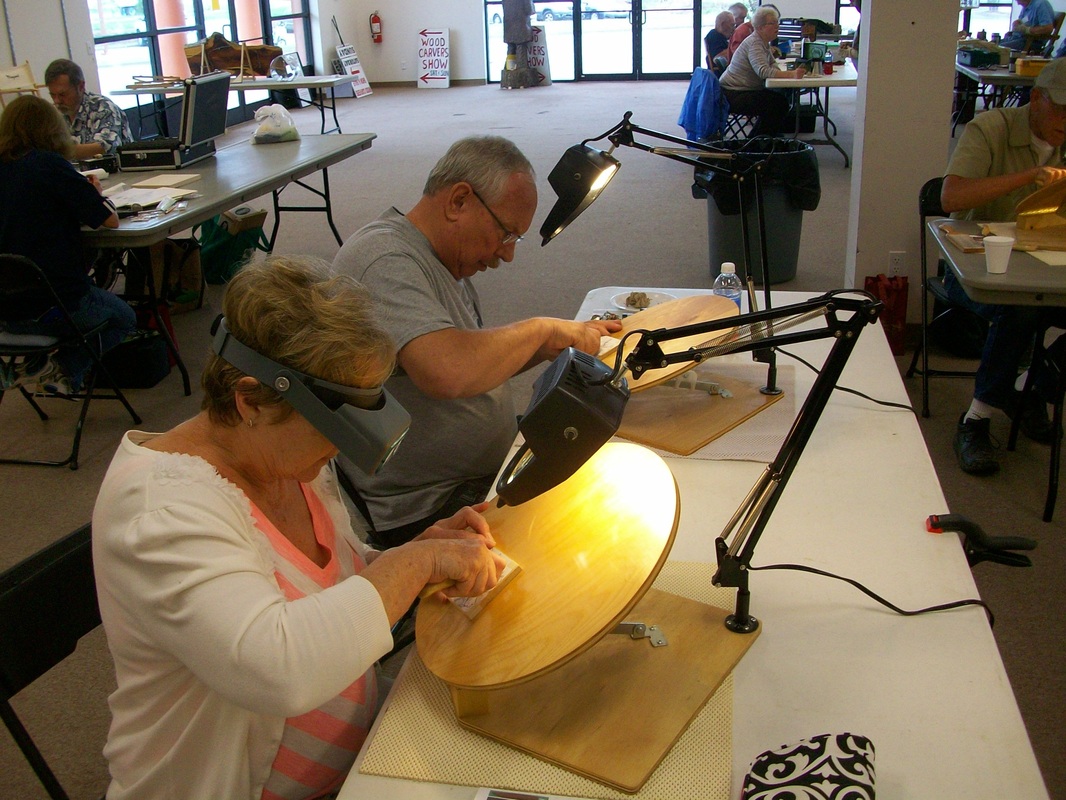
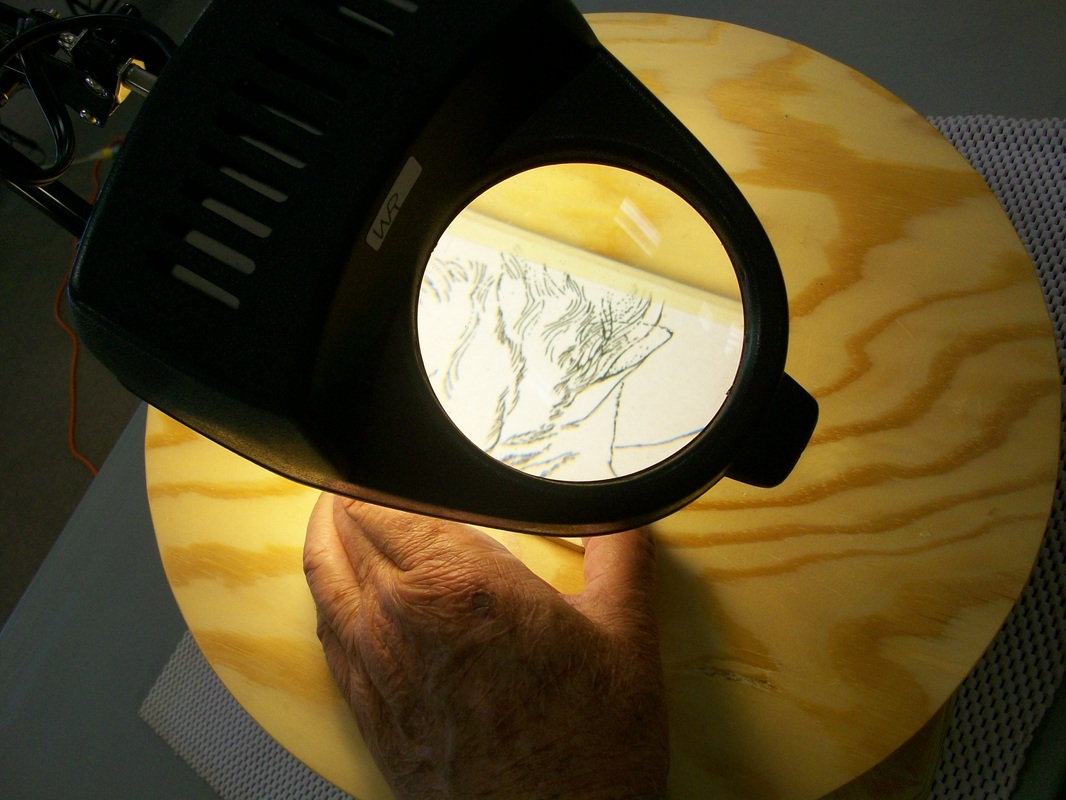
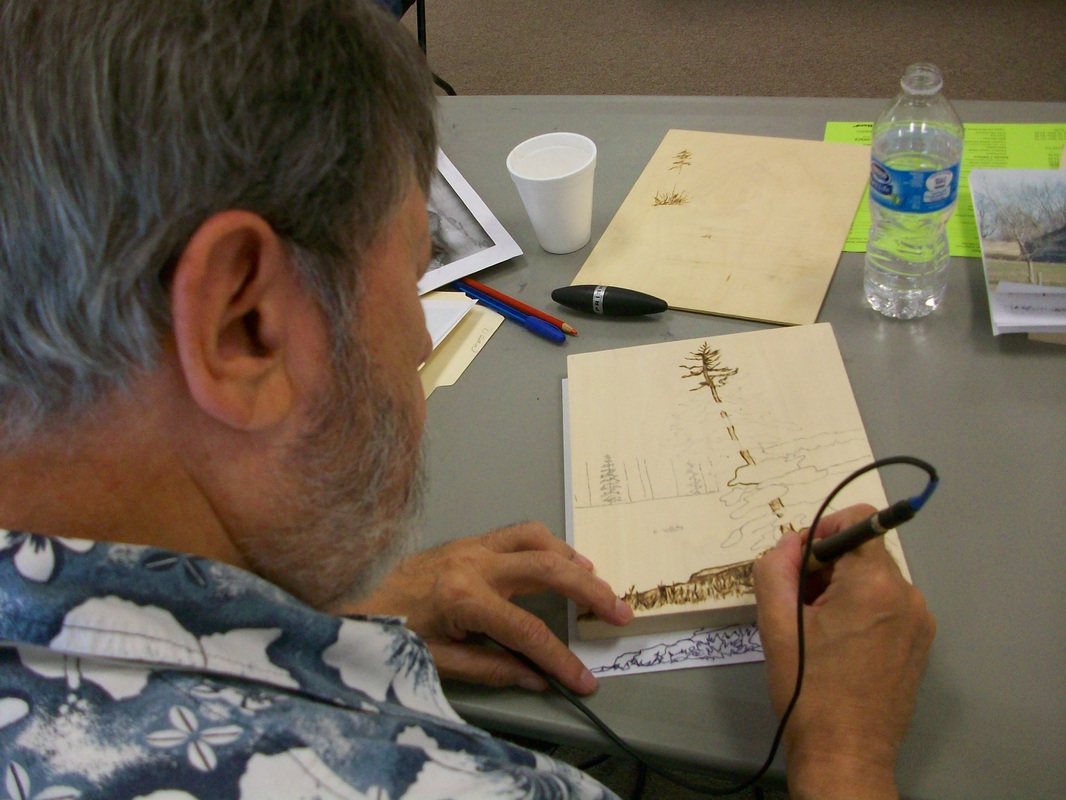
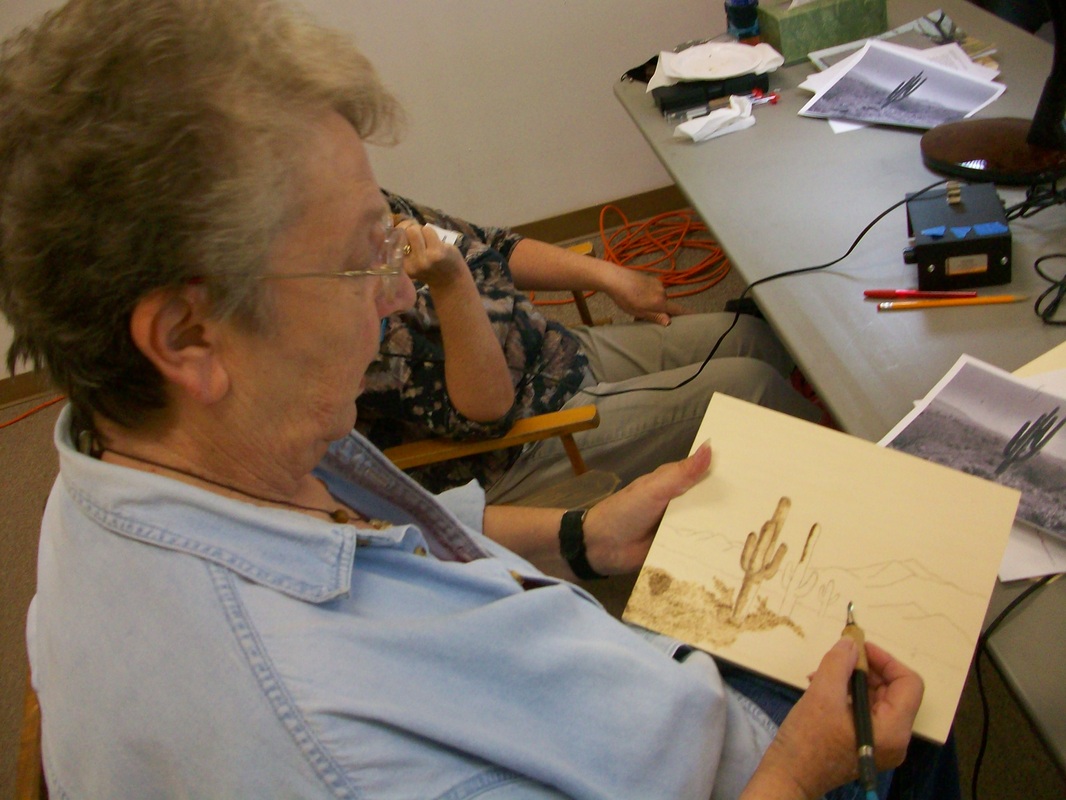
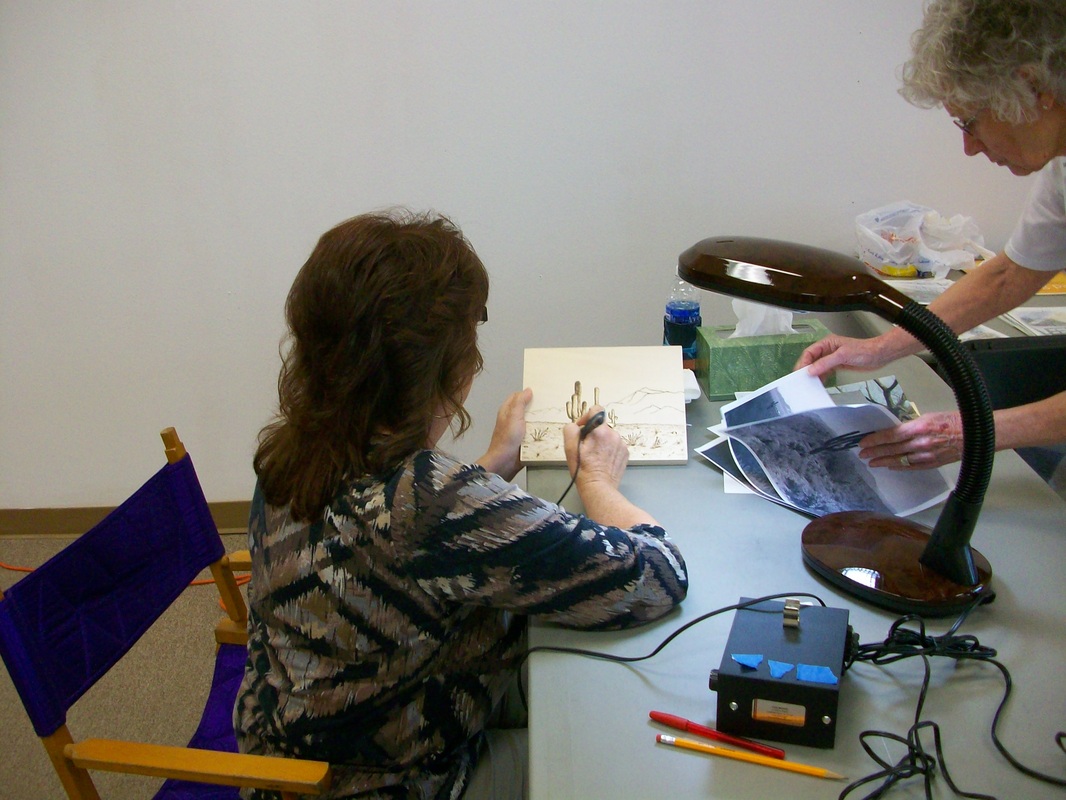
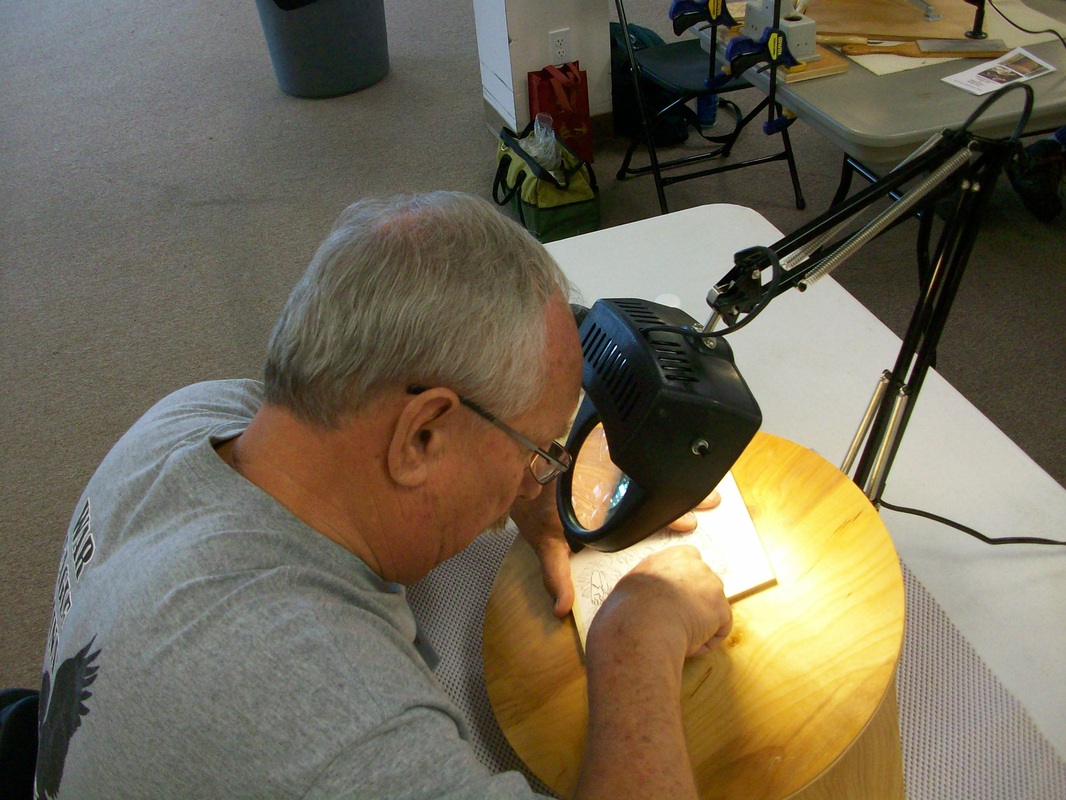
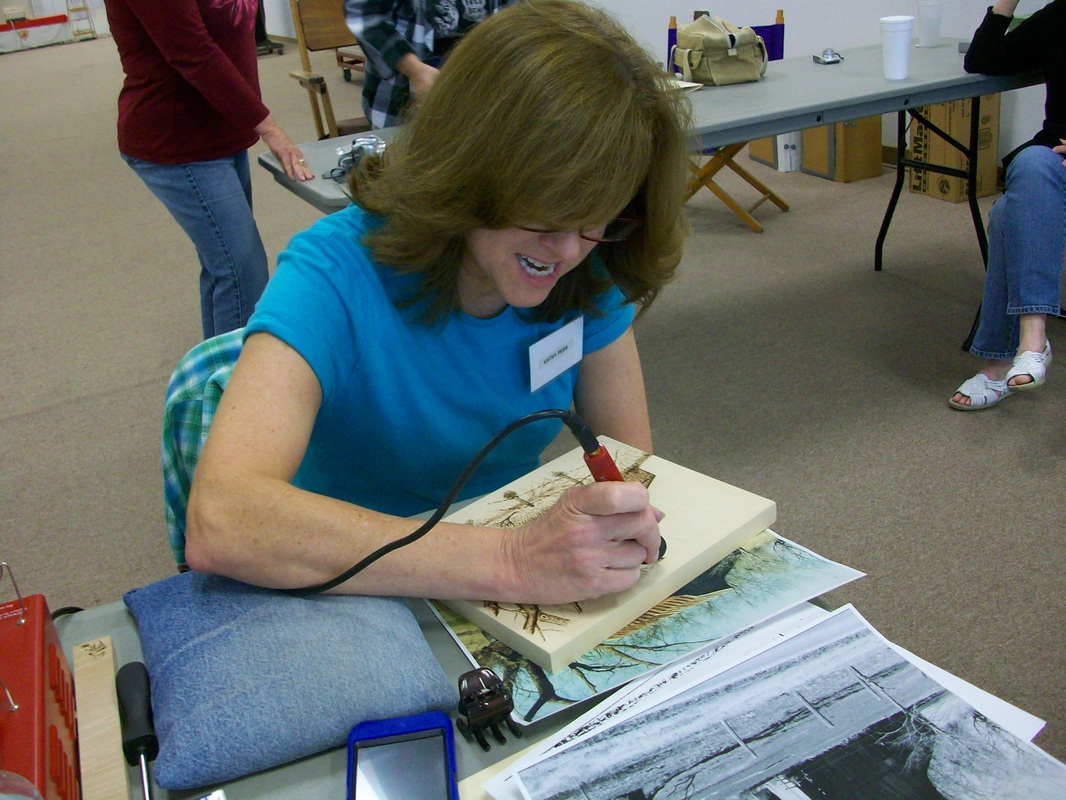
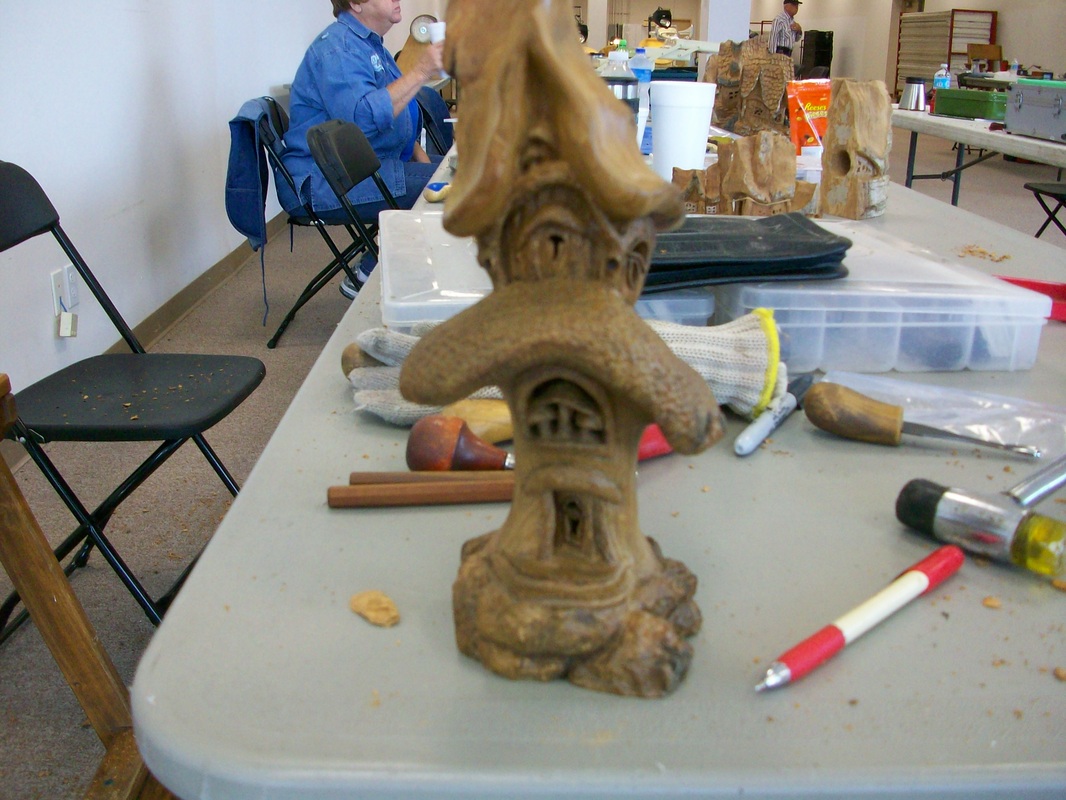
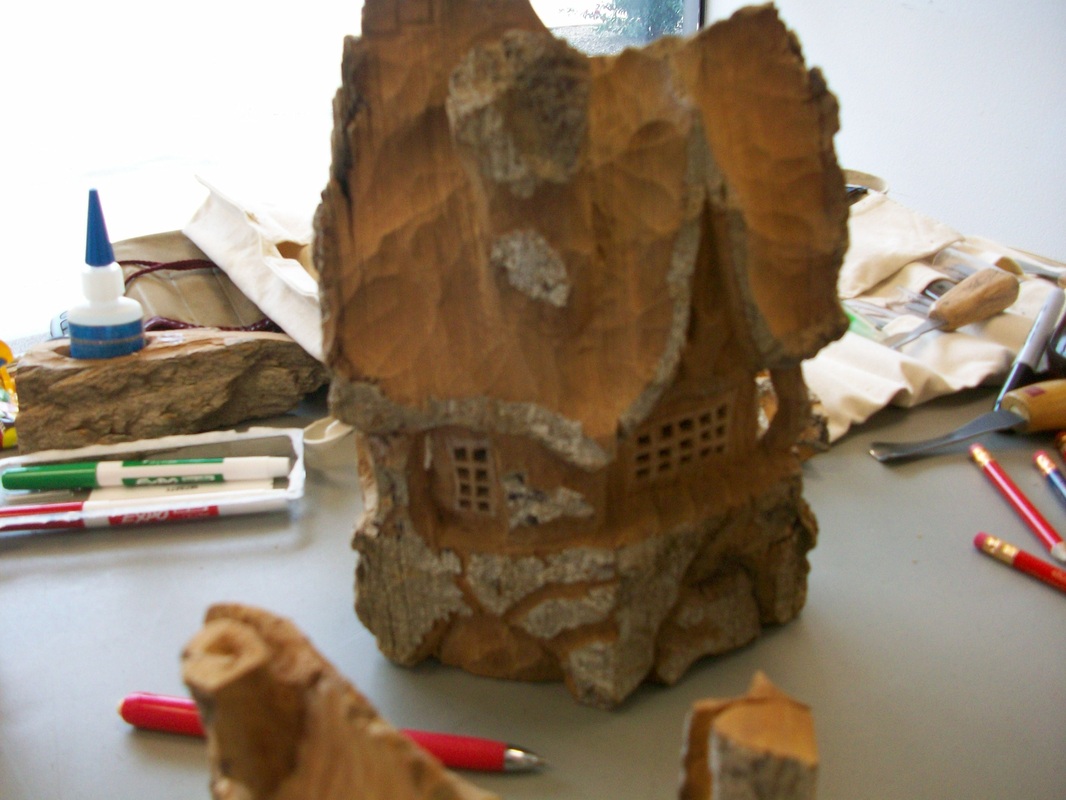
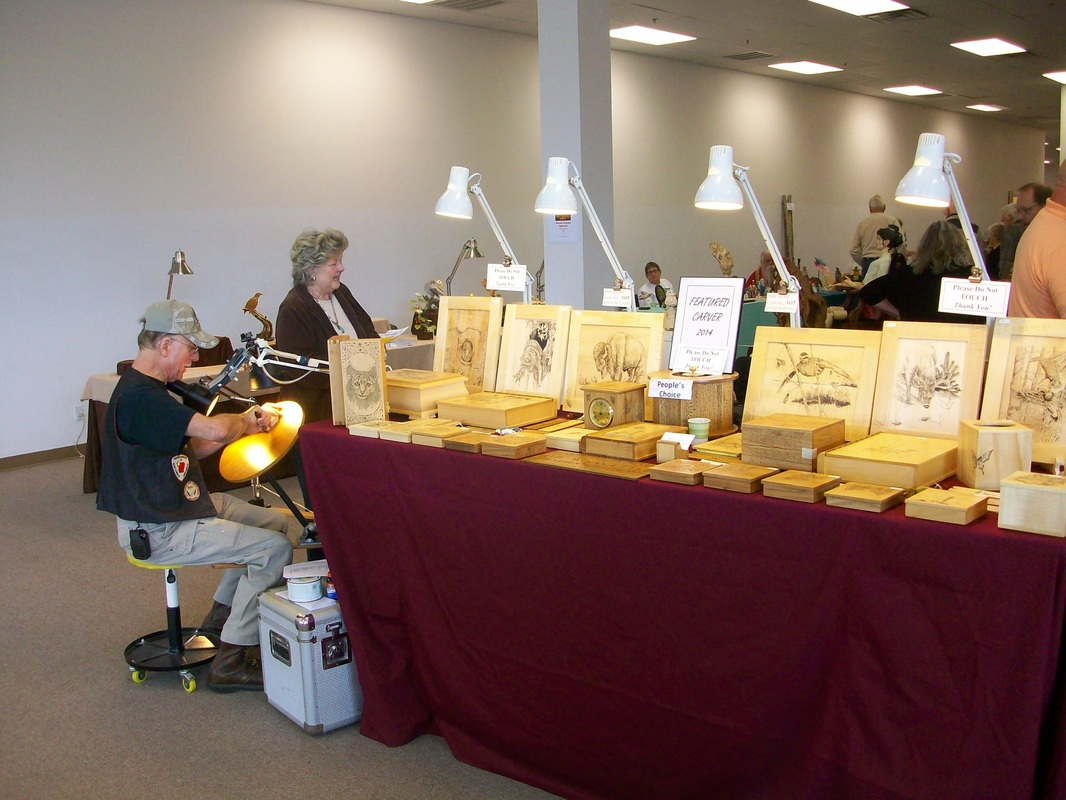
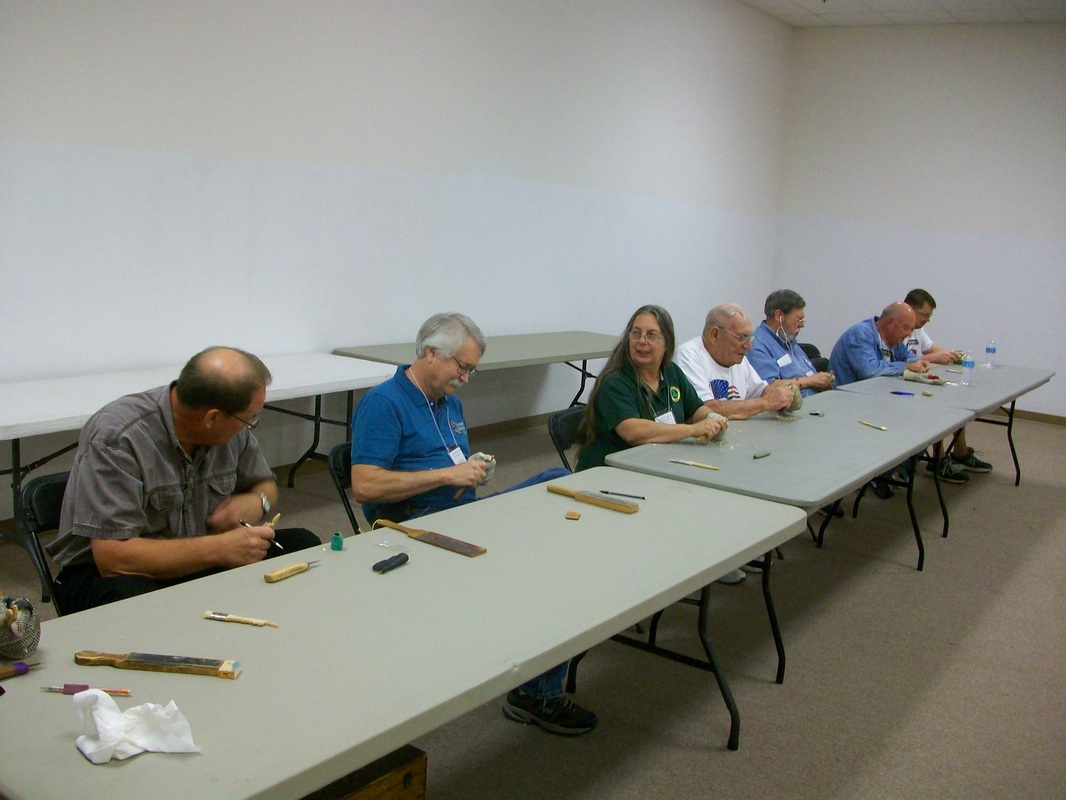
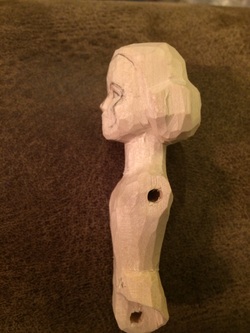
Below are some pictures of the 3 classes that were held over 2 days. As you can see, everyone had a great time.
Below are some pictures of the 3 classes that were held over 2 days. As you can see, everyone had a great time.


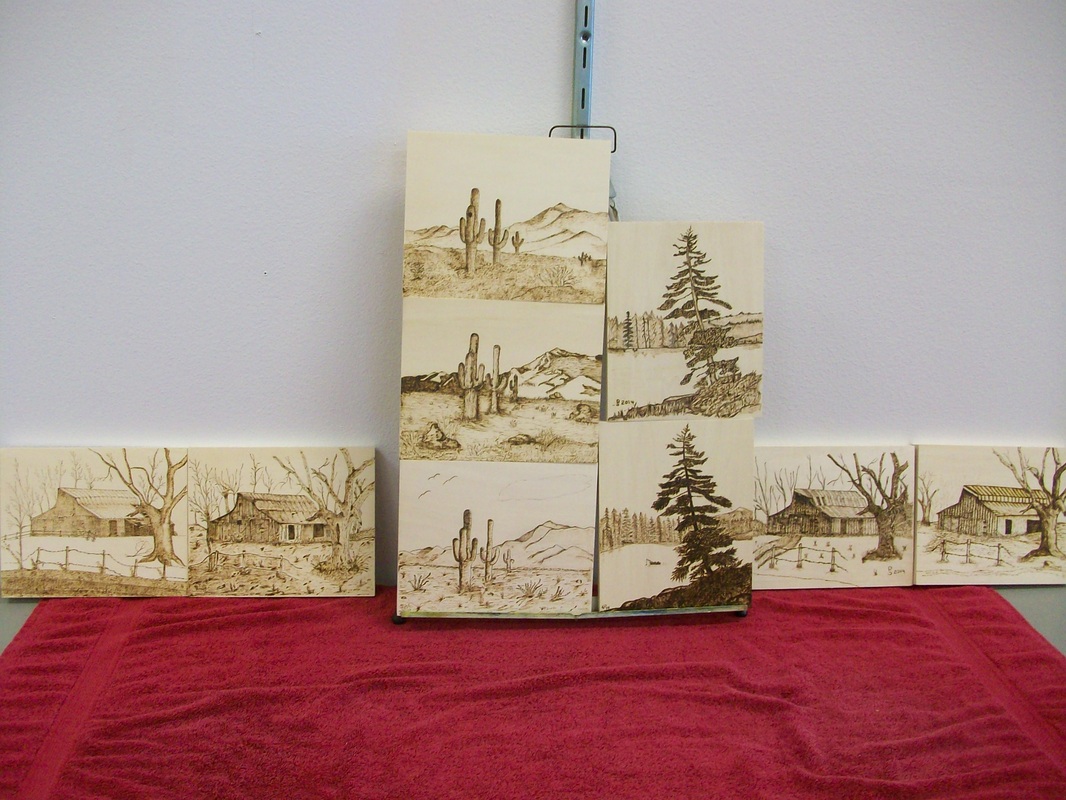

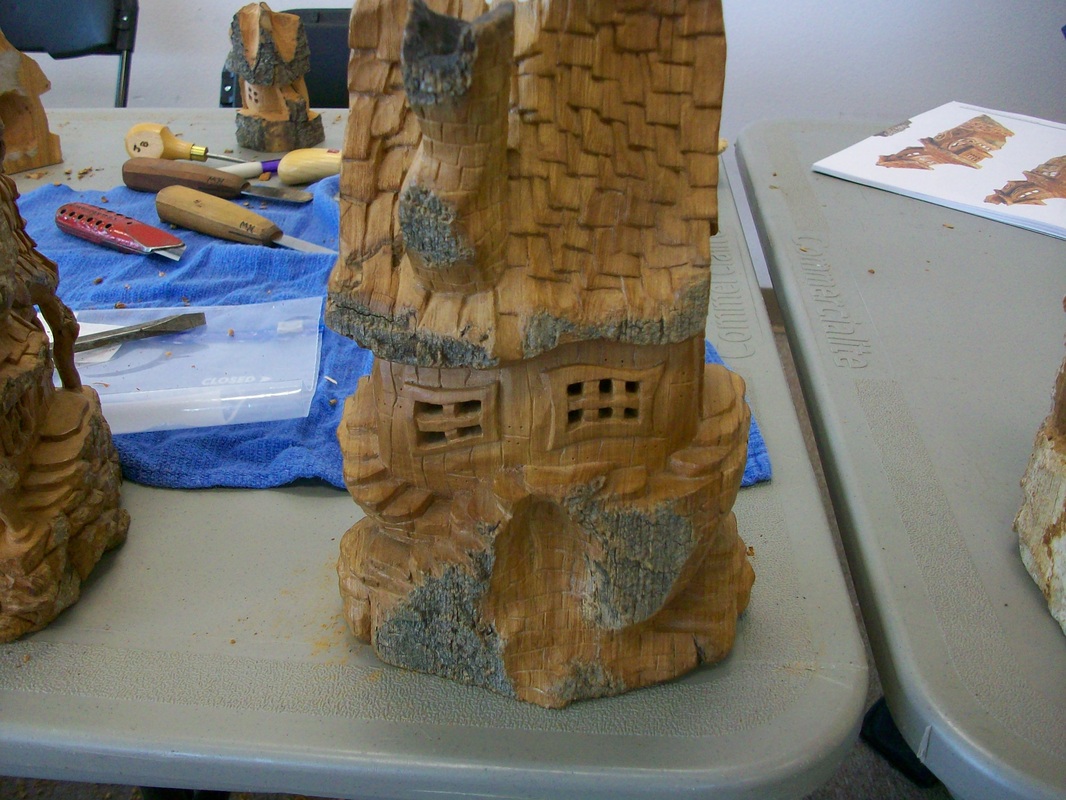
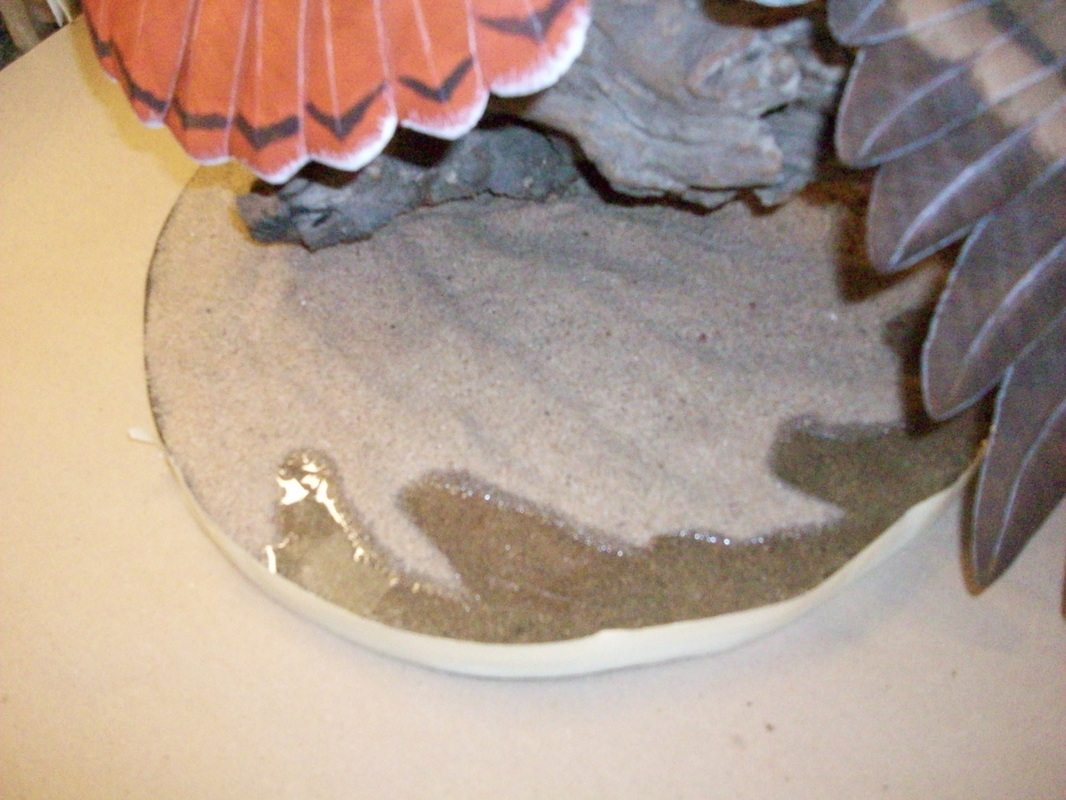
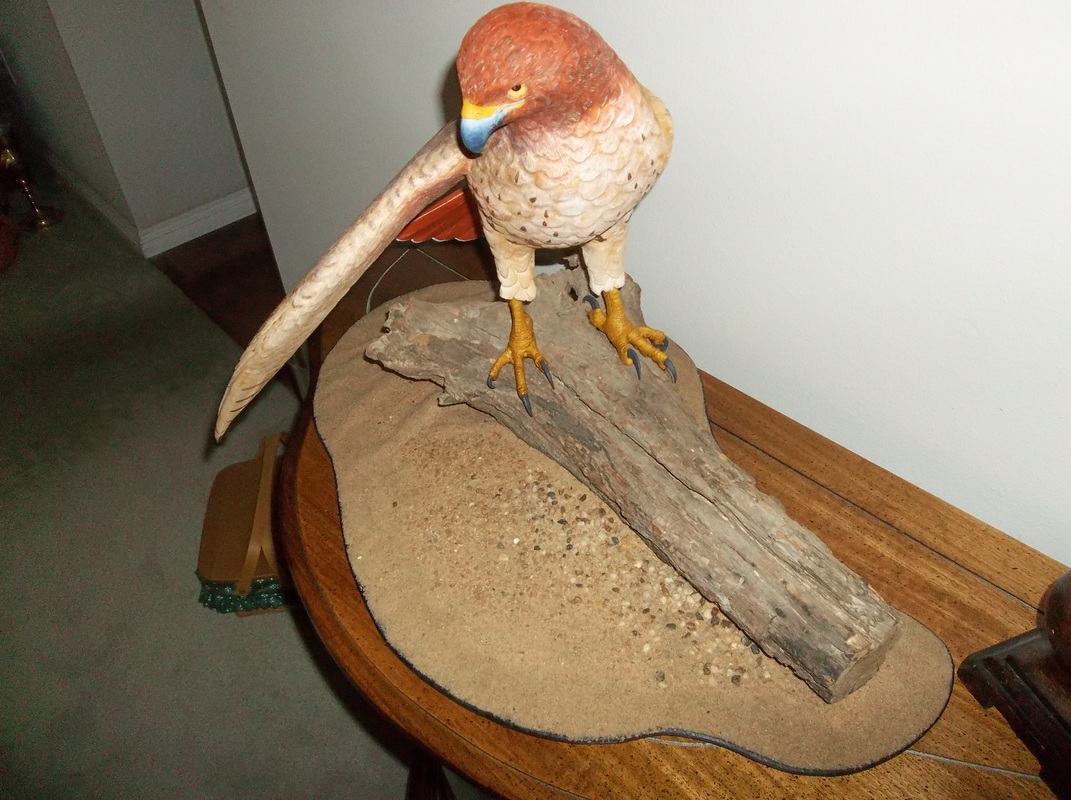
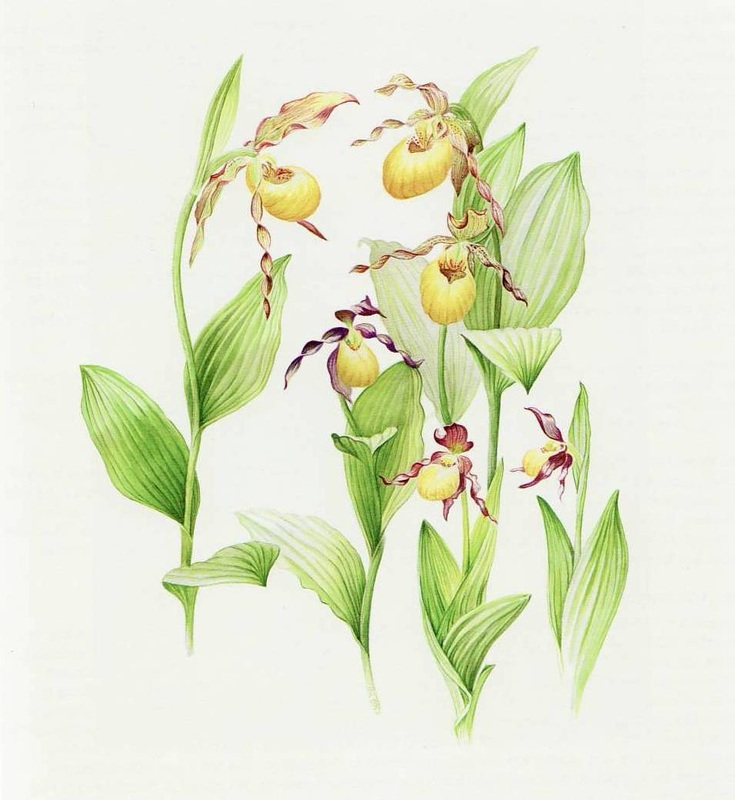
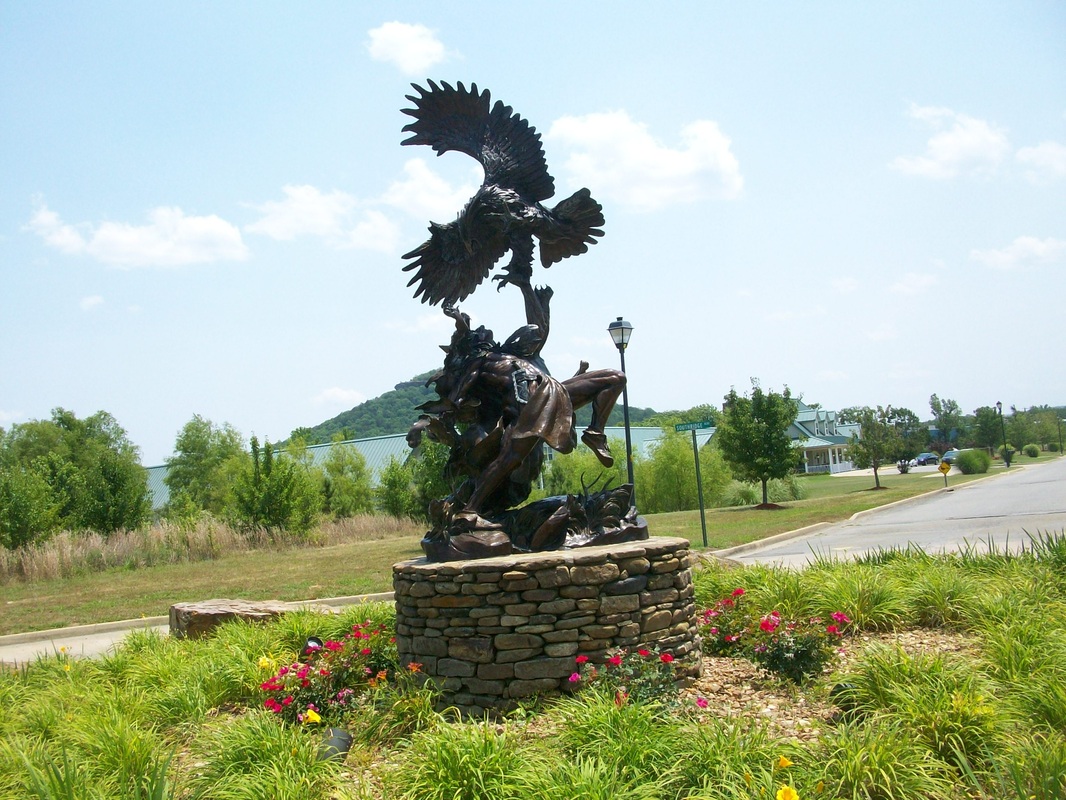
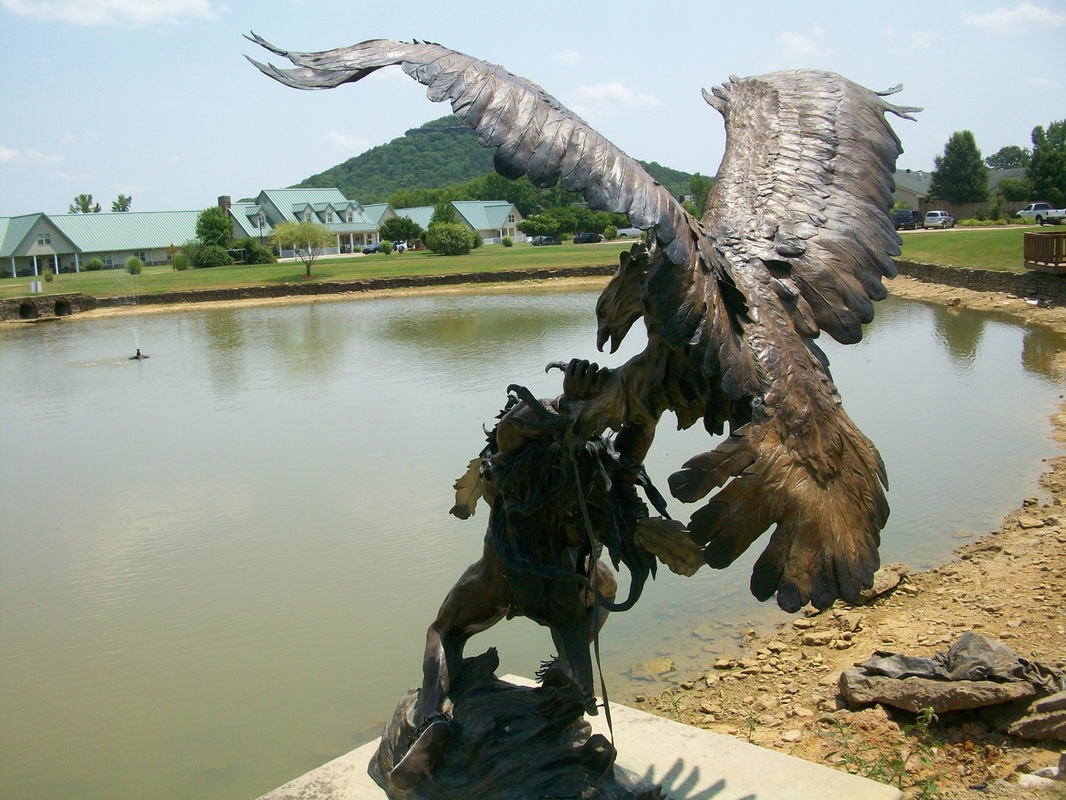
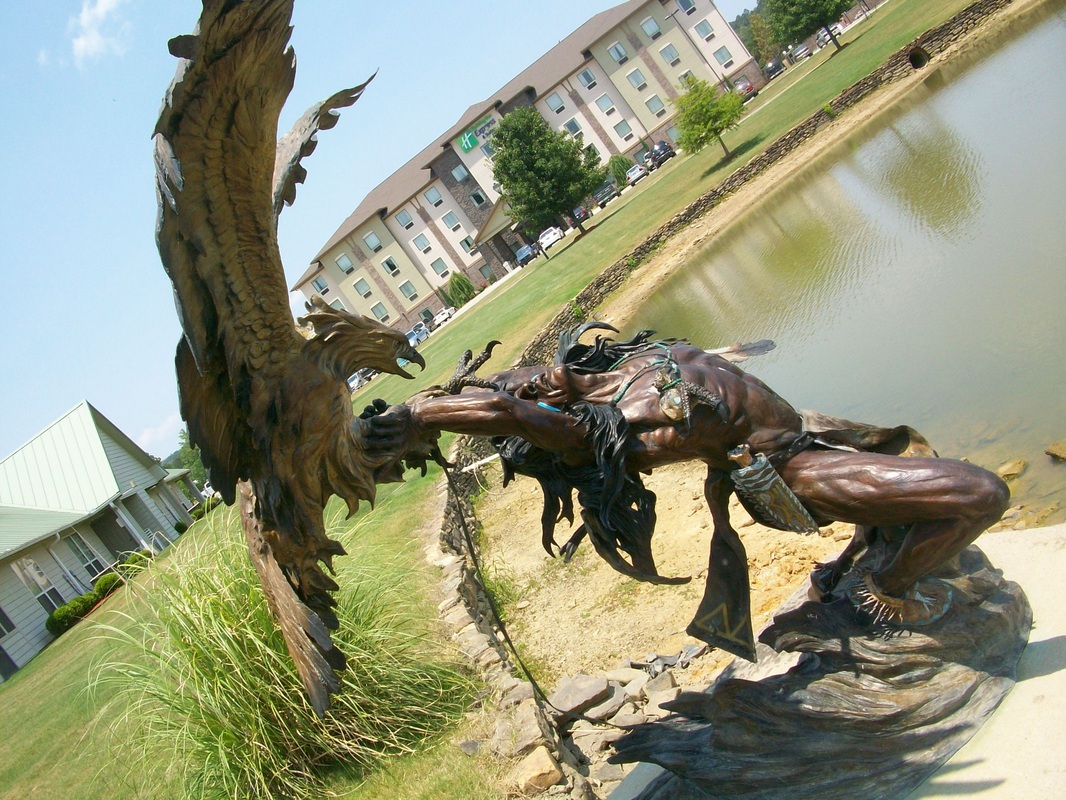
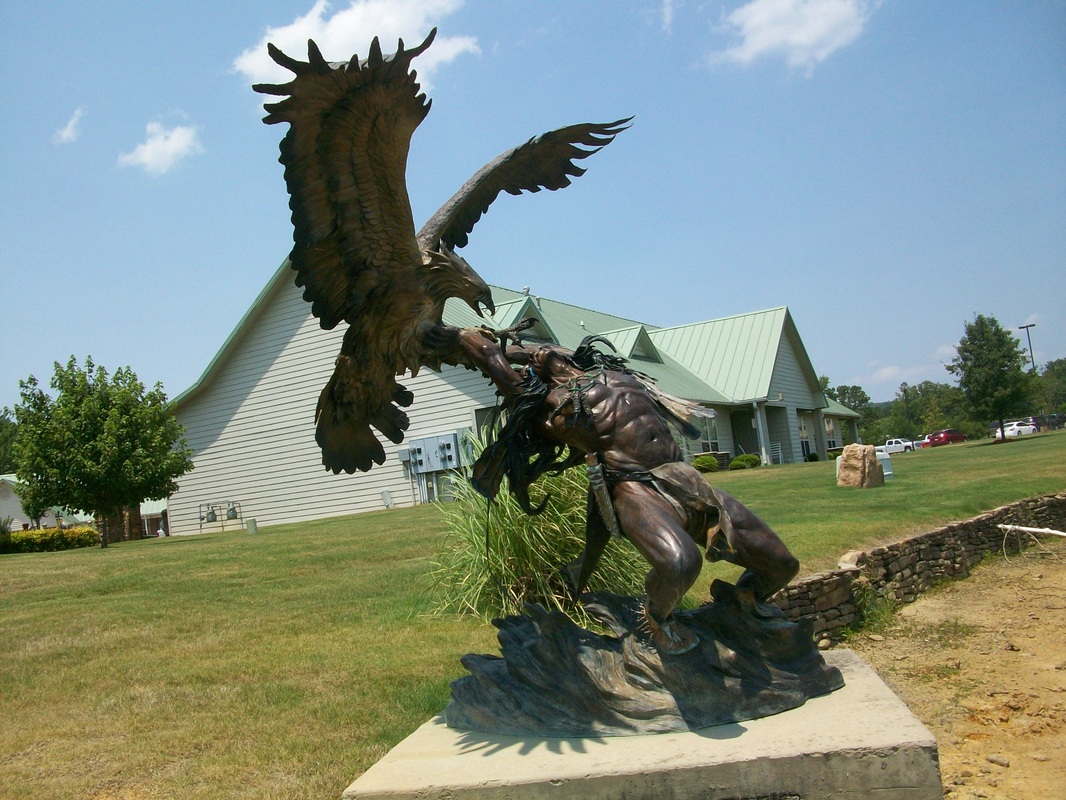
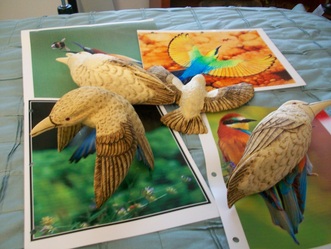
The next set of pictures are from the show.
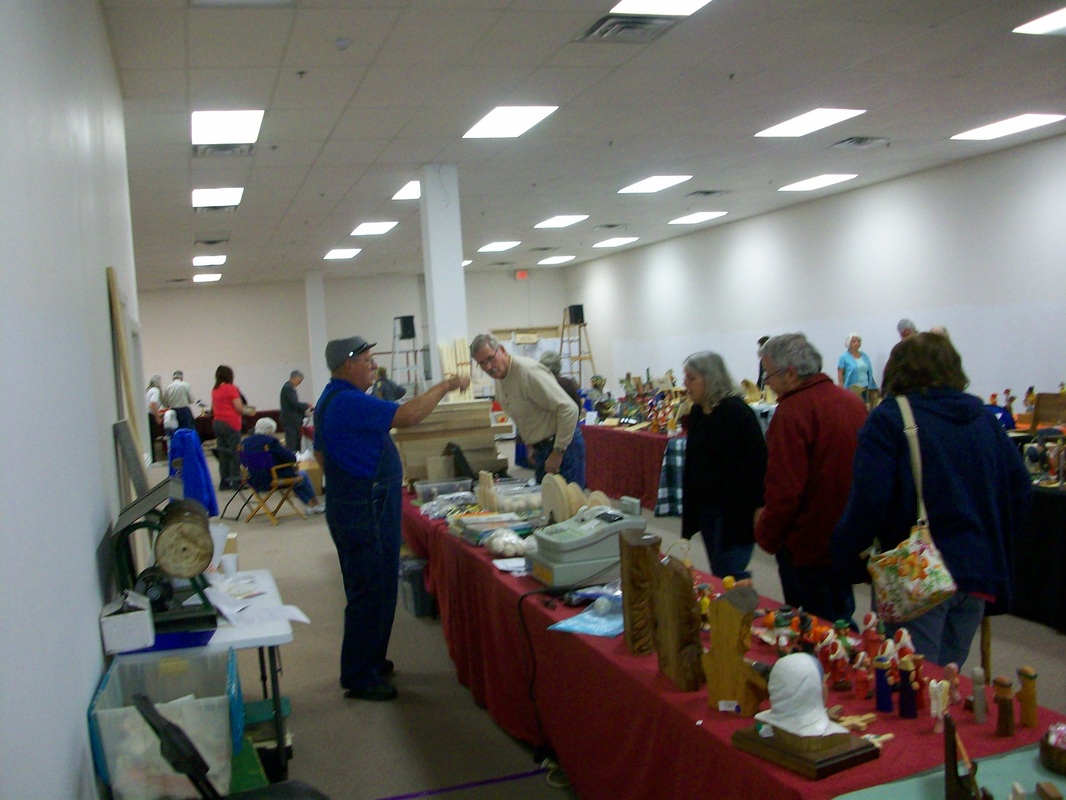

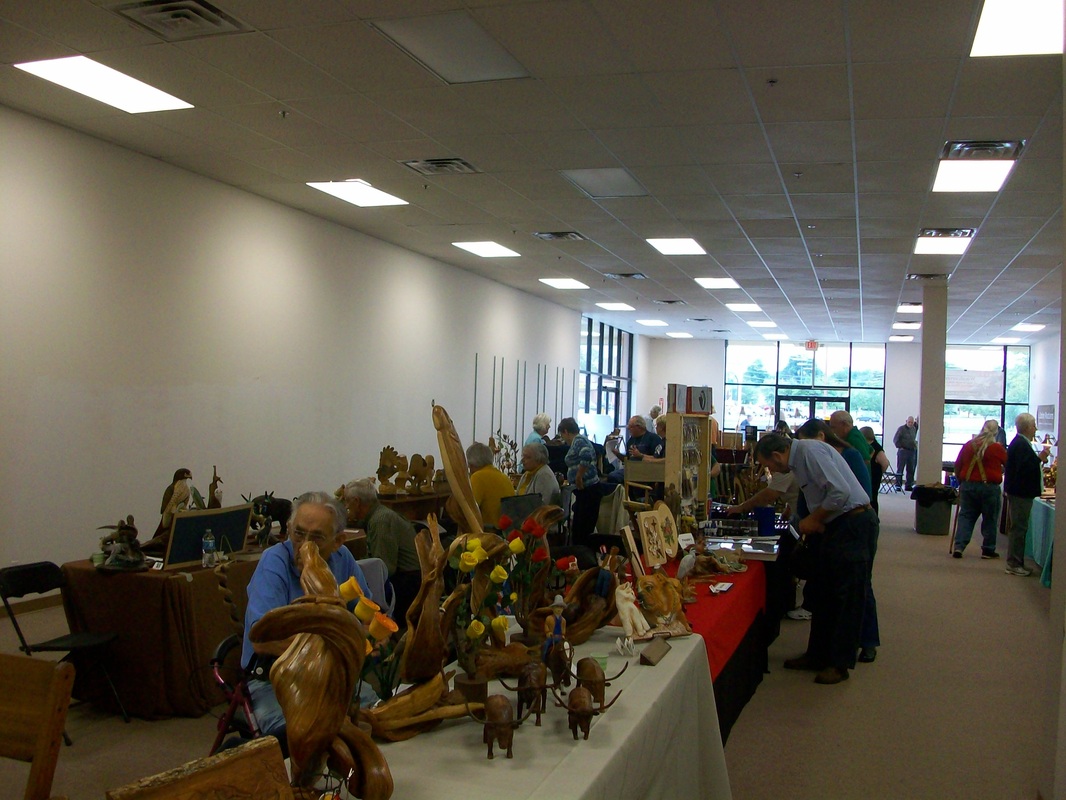

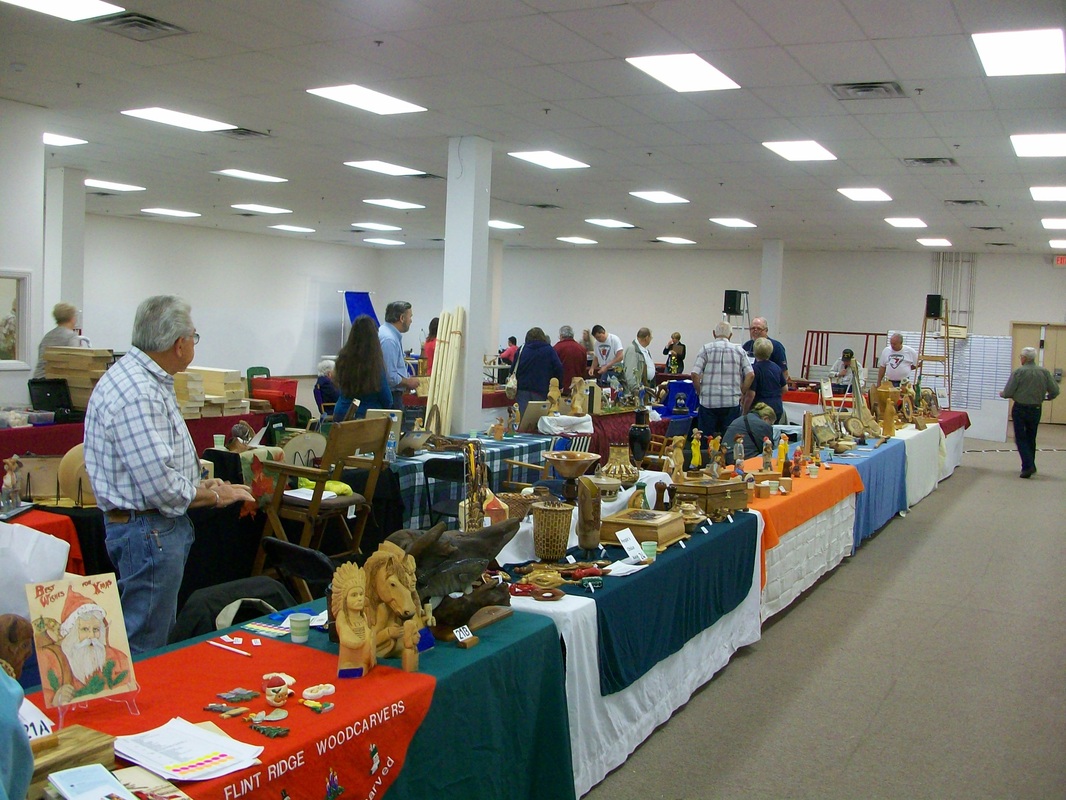
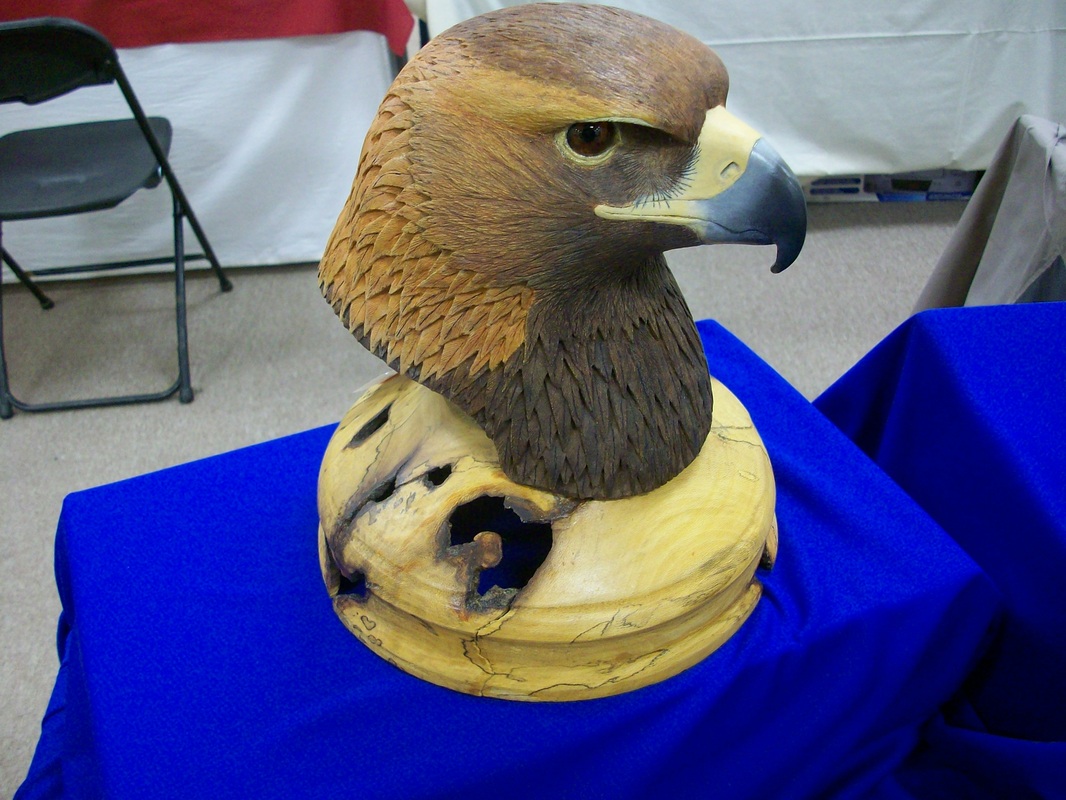
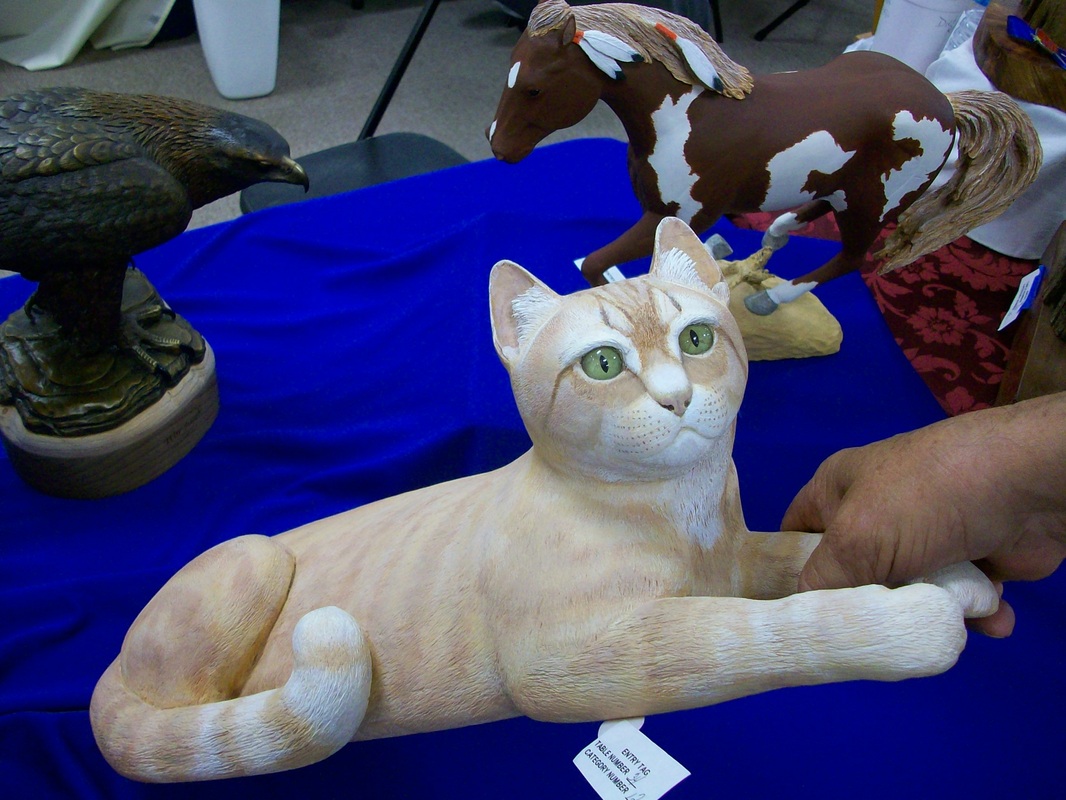
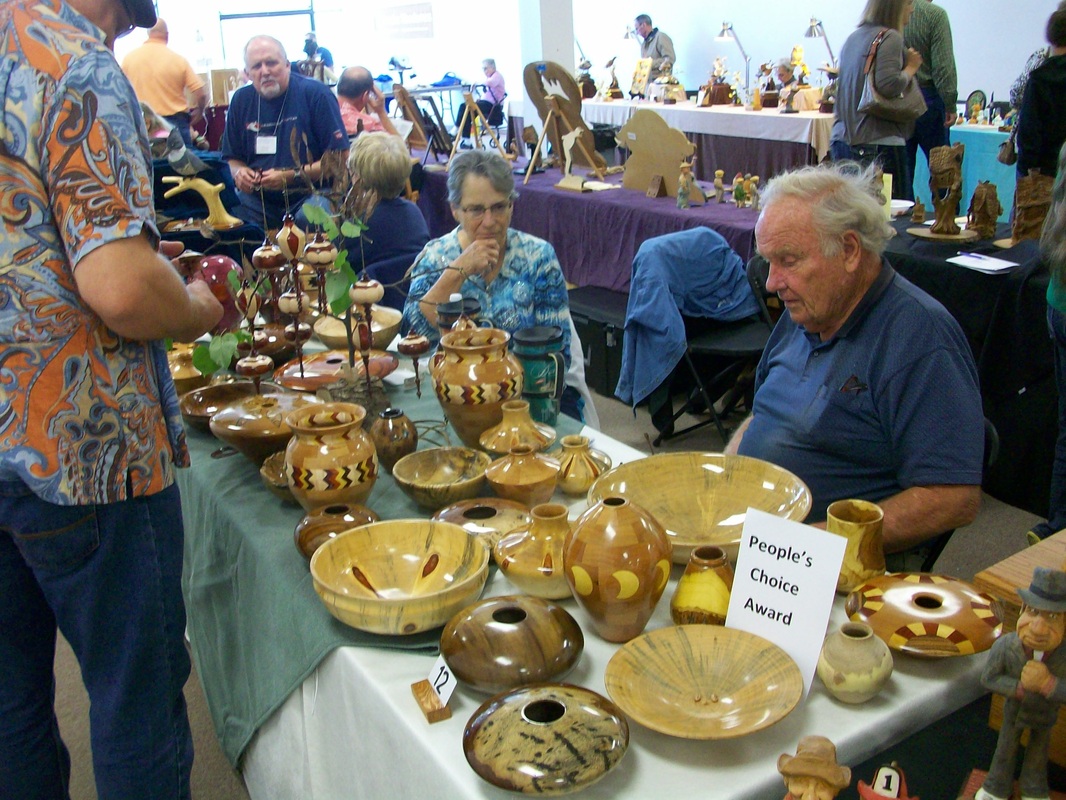
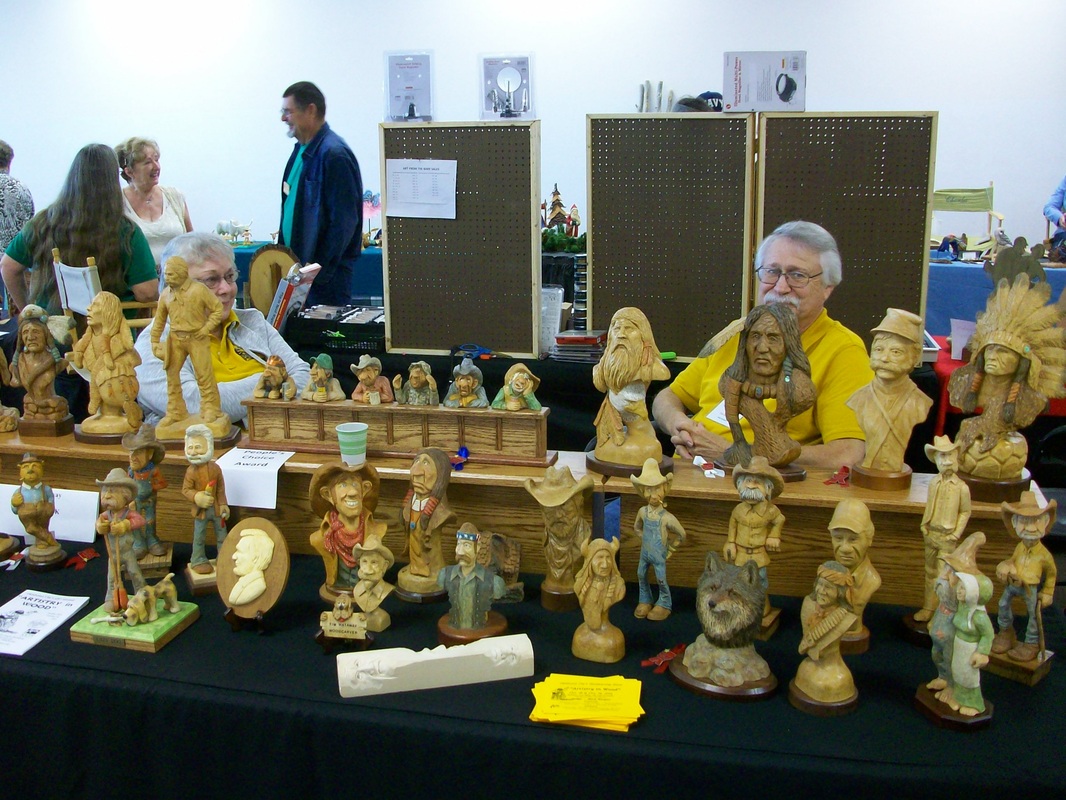

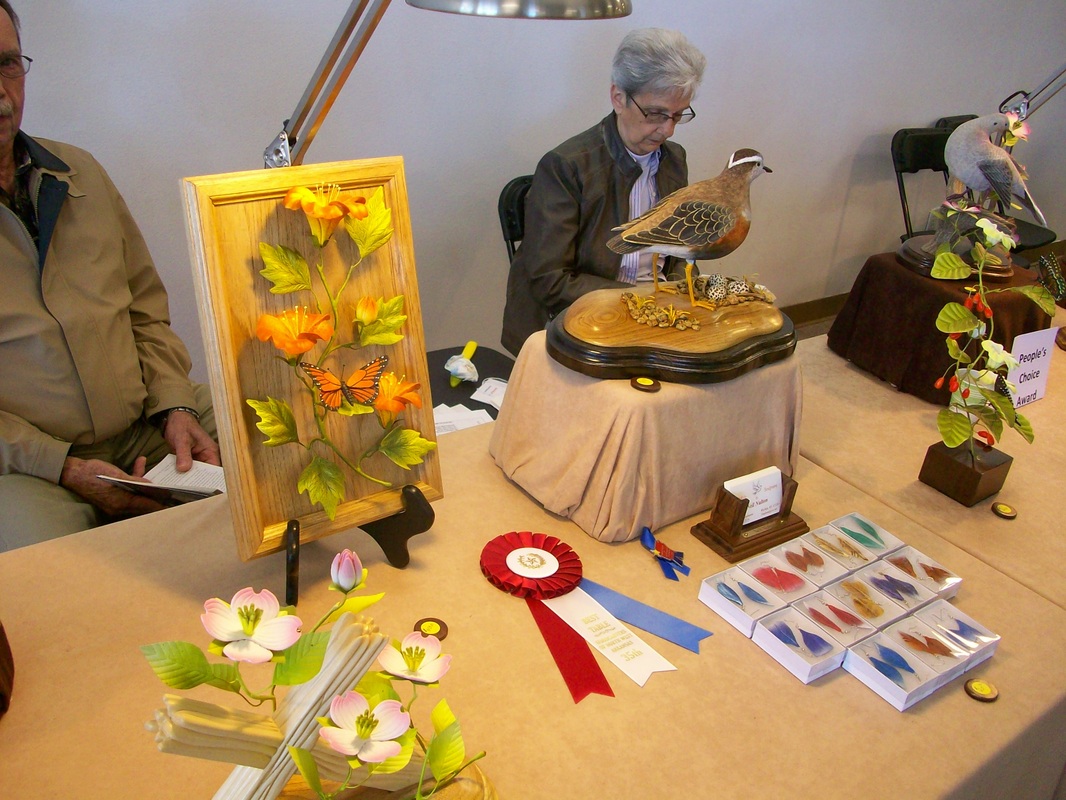
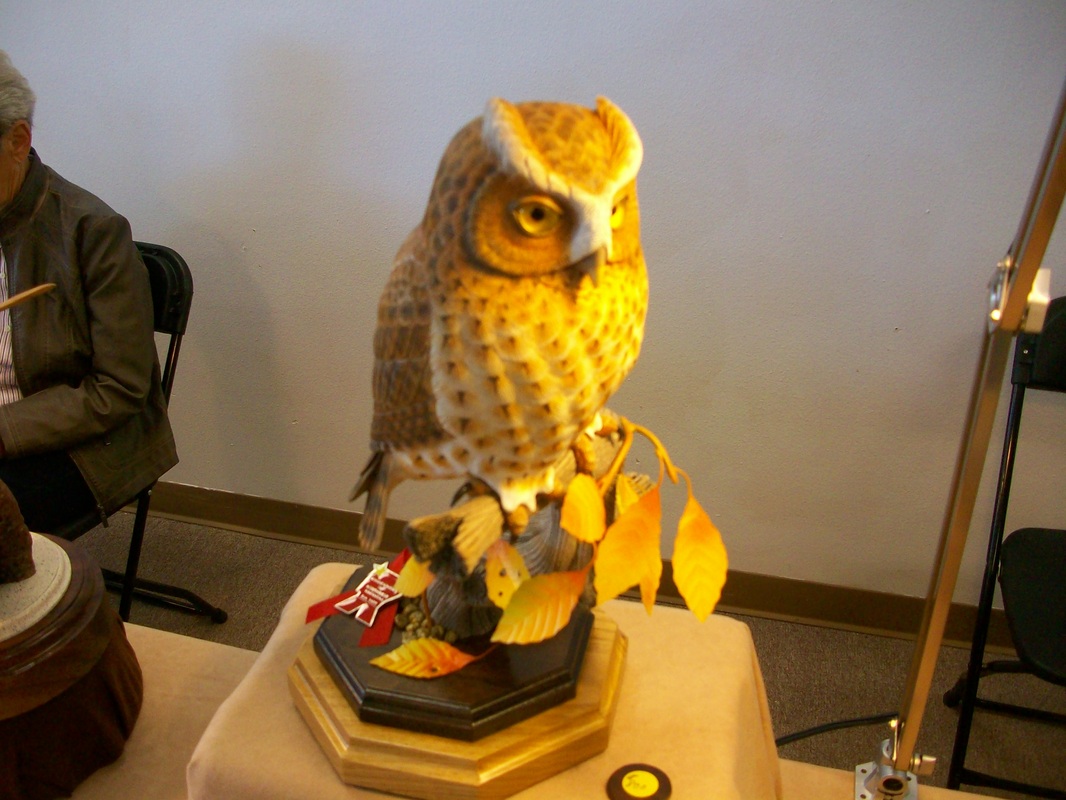
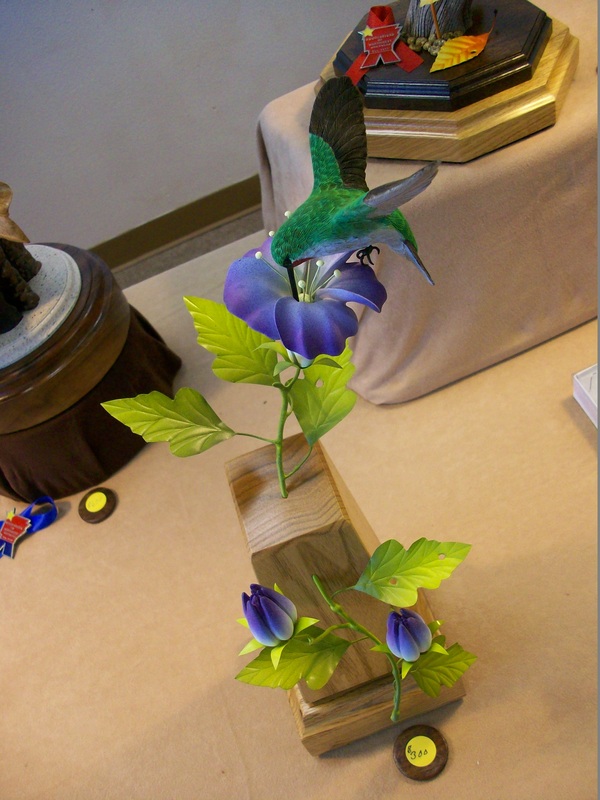
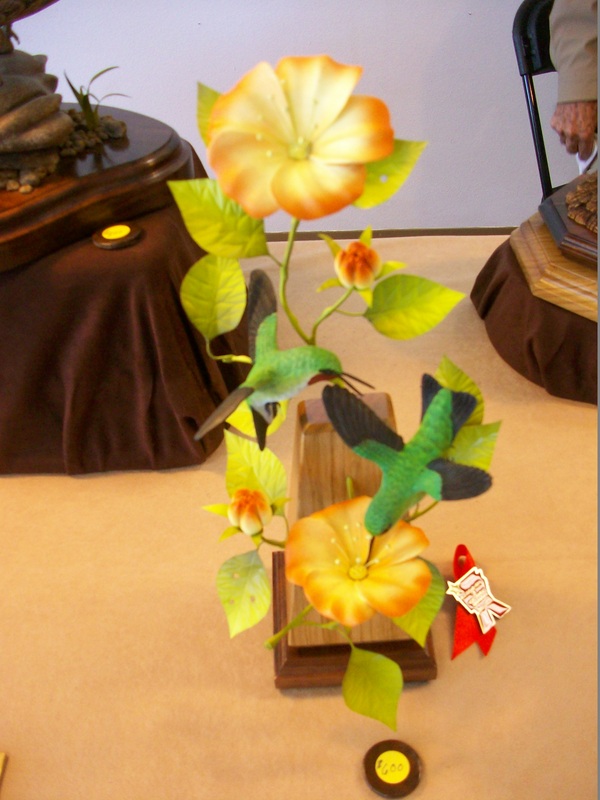
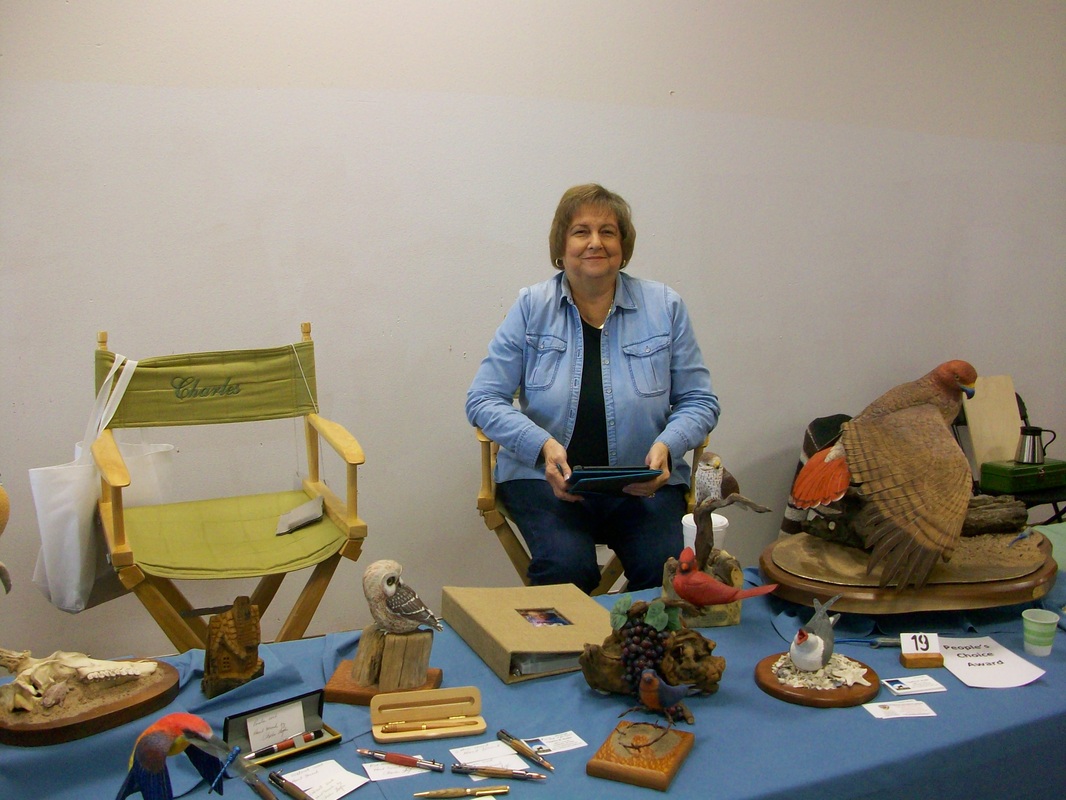
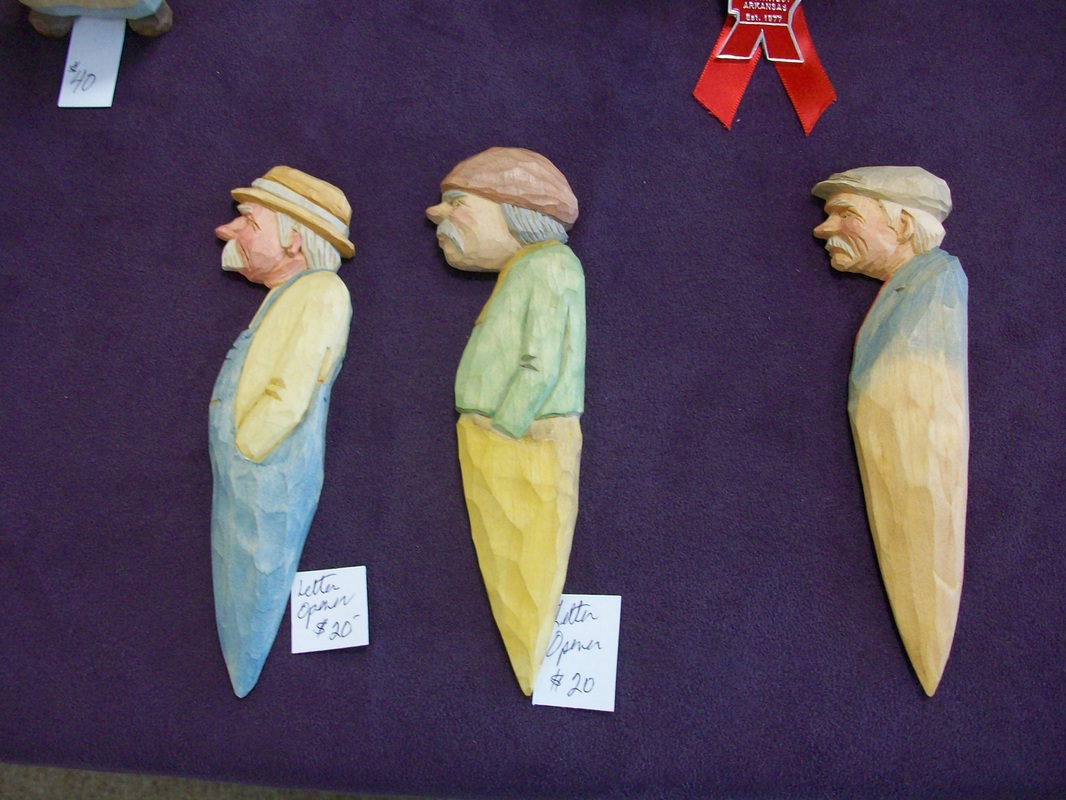
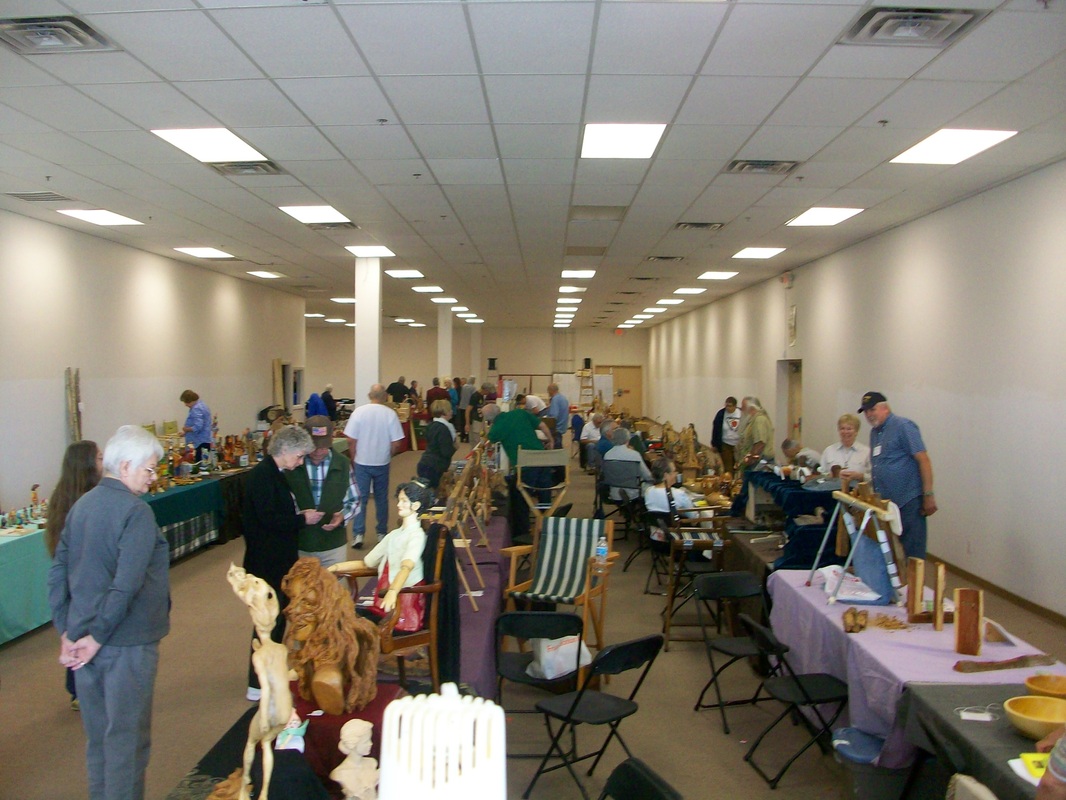
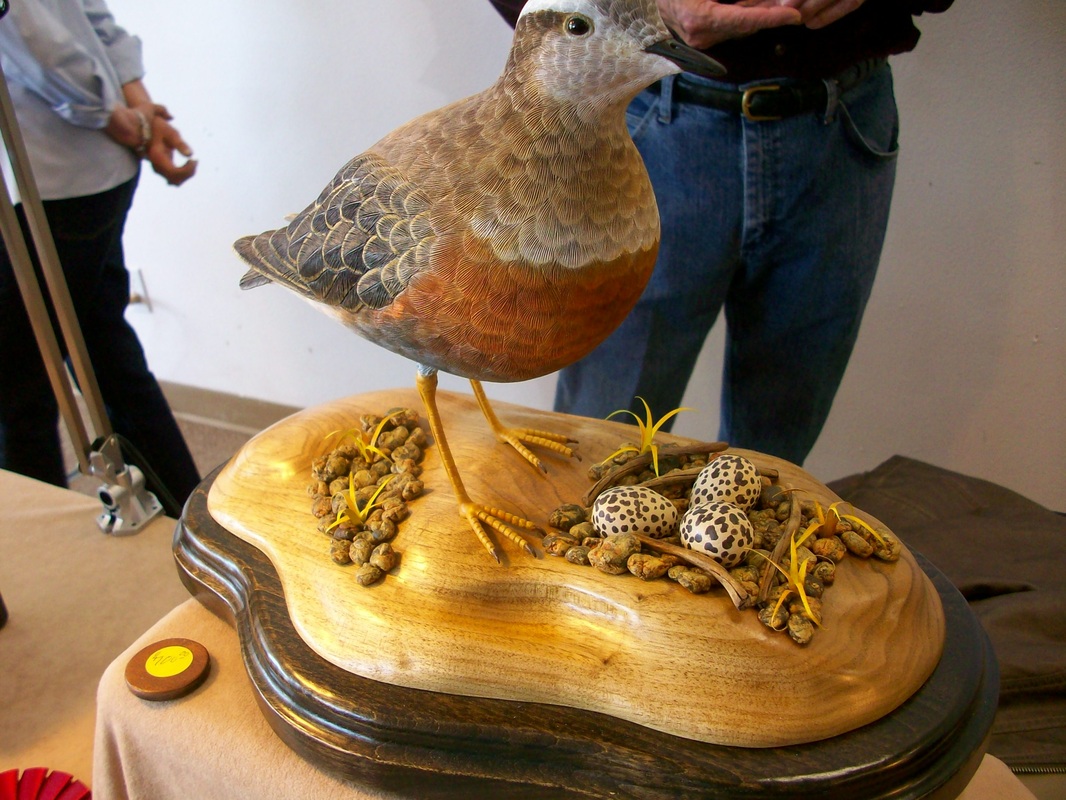
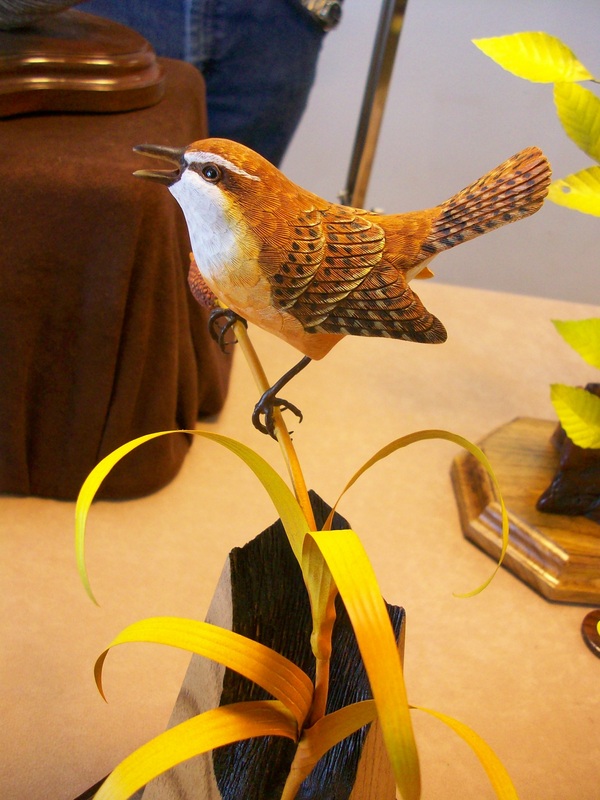
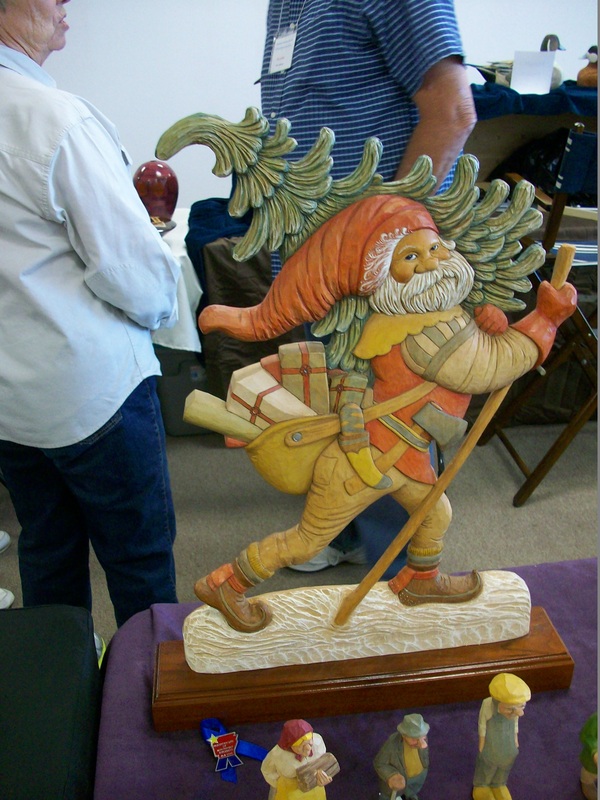

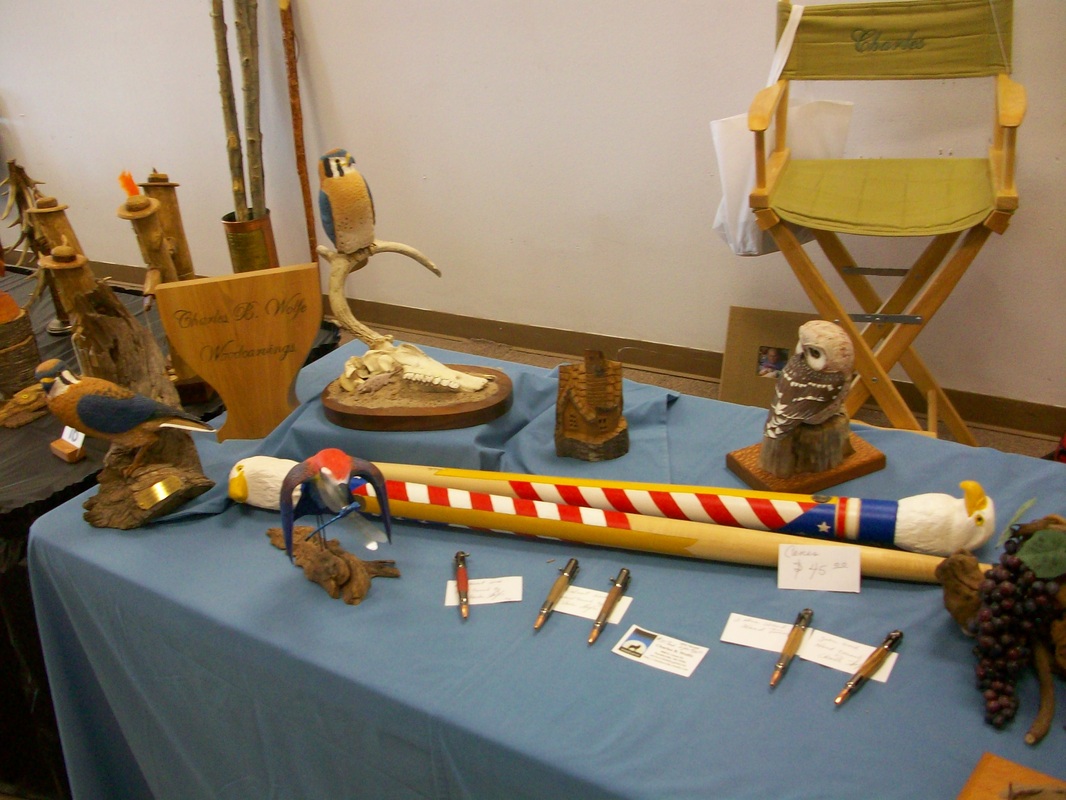
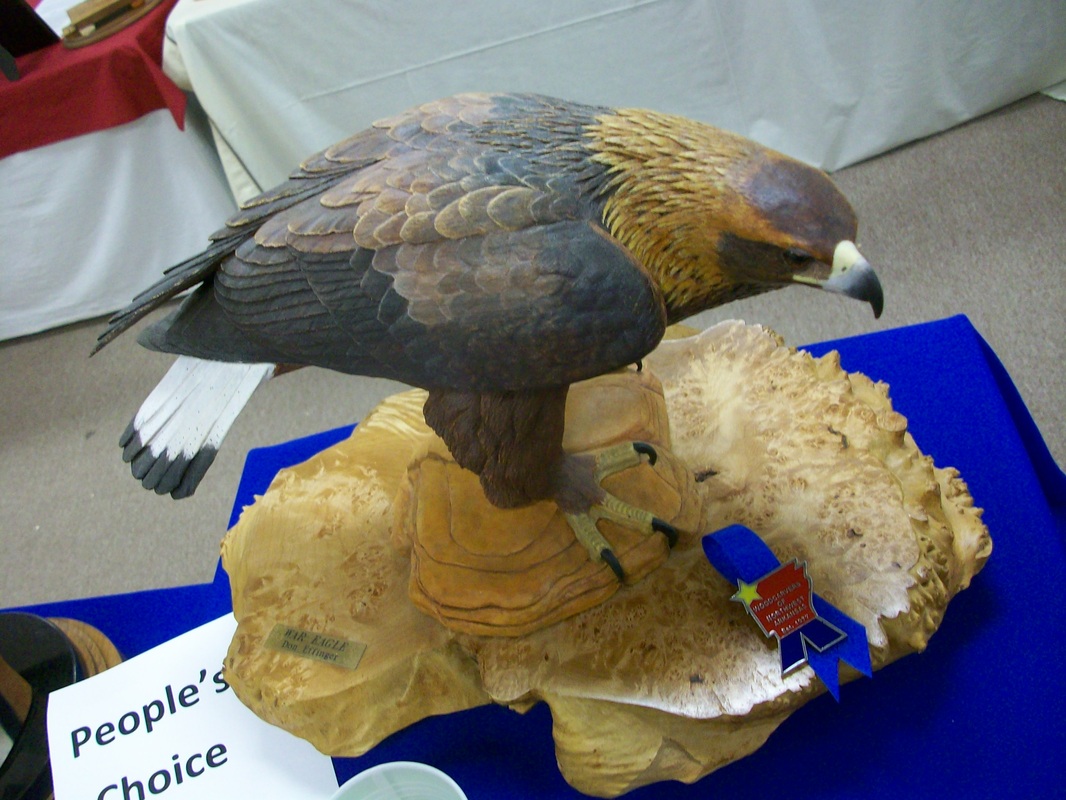
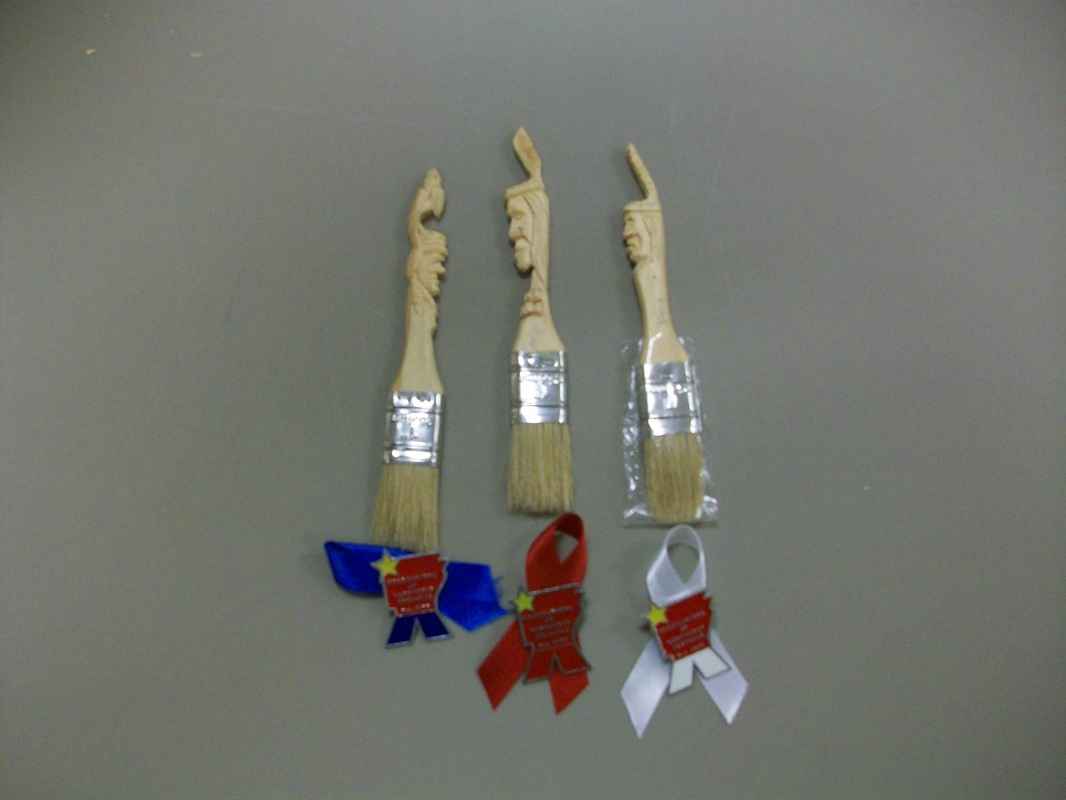
Now was that a great show or what???


 RSS Feed
